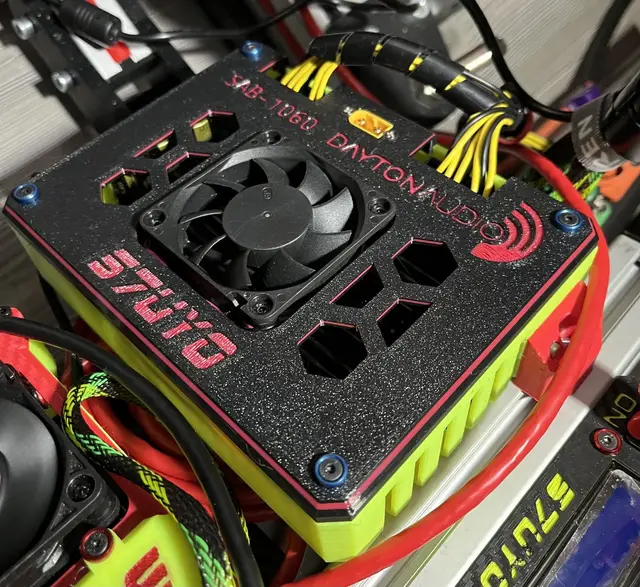
Dayton SAB-1060 Sim Amp Enclosure
Motion & Tactile · by Stuyo · 7 Jan 2026
The Dayton Audio SAB-1060 SIM 7.3-Channel Sim Racer / Arcade Amplifier Board is great device, a must we would say for immersive tactile sim build with its 10x60W channels.
Overview
The Dayton Audio SAB-1060 SIM 7.3-Channel Sim Racer / Arcade Amplifier Board is great device, a must we would say for immersive tactile sim build with its 10x60W channels. All is good, but it has one shortcoming - comes as board only, no enclosure. Not to worry, we designed one for you!
It is relatively simple print, two main parts and additional mounting piece that can be easily redesigned if you need another option.
The enclosure cover comes in two variants:
- Open cover - allows you to plug in and out the ATX cables without opening the enclosure
- Closed cover - designed to cover the ATX connectors for cleaner look. Cables must be plugged in before closing cover
The enclosure can be paired with the audio terminal boxes, linked in section "Related Projects" for cleaner cable management and easier maintenance. Designed to work with XT60 panel connector for power input and cleaner look.
Build info
Parts needed:
1. Dayton Audio SAB-1060 SIM 7.3-Channel Sim Racer / Arcade Amplifier Board
2. XT60 connector, male, panel mount + M2.5 screws for mouting
3. M3x40mm screws, 4x to keep enclosure together
4. M3x10mm screws, 4x for the side mounts
5. M3 brass heat inserts, 8mm long, OD 4.2-4.5mm 4x for enclosure underside
6. M3 brass heat inserts, 5mm long, OD 4.2-4.5mm 4x for enclosure mounting bracket
7. M6x14mm socket bolts and T-Nuts for mounting to alu extrusion profile
Printer settings:
No supports needed, printed in PETG for higher thermal resistance, quite possibly PLA will work too. Used 5 walls for better stability.
Assembly considerations:
Amp can be rotated inside enclosure body for better mounting brackets positioning.
SAB-1060 should be simply inserted in box, cover placed on top and screwed in with the m3x40 screws.
Questions about this build?
Ask in the DIY-SIM Discord: other builders have probably built it already.
Ask on DiscordRelated builds
Motion & Tactile
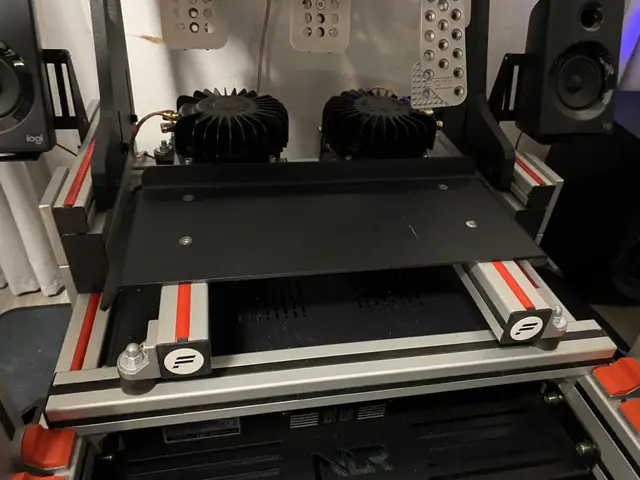
Universal Pedal Mount for Bass Shakers
Short demo of all my iterations for mounting pedal bass shakers. Current setup is with the Heusinkveld Ultimates and Sim-Lab Inverted Mount.
7.8K views
Motion & Tactile
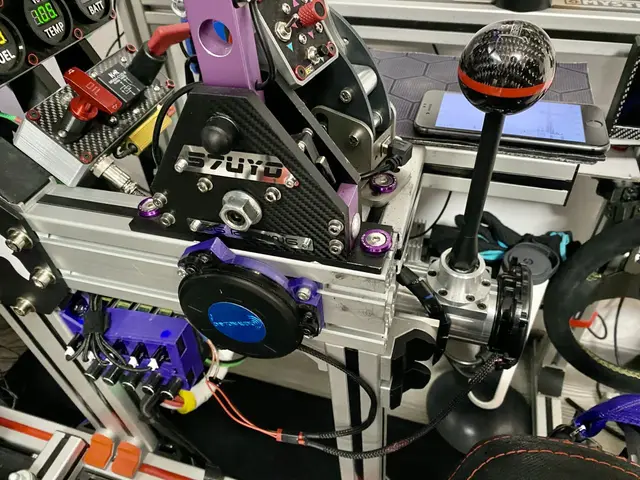
Dayton Puck T-Slot Mount
Dayton Puck mount for T-Slot Aluminum Extrusions. It allows easy mount to 8040 profile, has extended mounts to clear M6 screw heads.
7.7K views547 downloads
Motion & Tactile
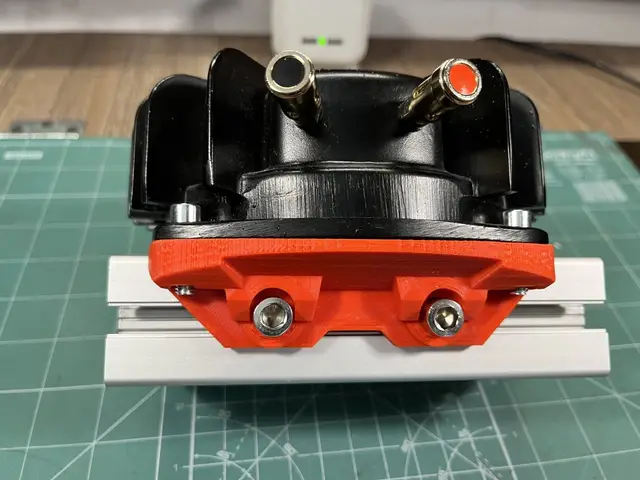
Bass Shaker Mount 8040
Needed new way to mount my bass shakers to 8040 Aluminum Extrusion Profile on my sim rig and came up with this simple design. It is relatively fast to print and can fit small printer bed.
6.4K views433 downloads
Motion & Tactile
Seat Side Mount for Bass Shakers
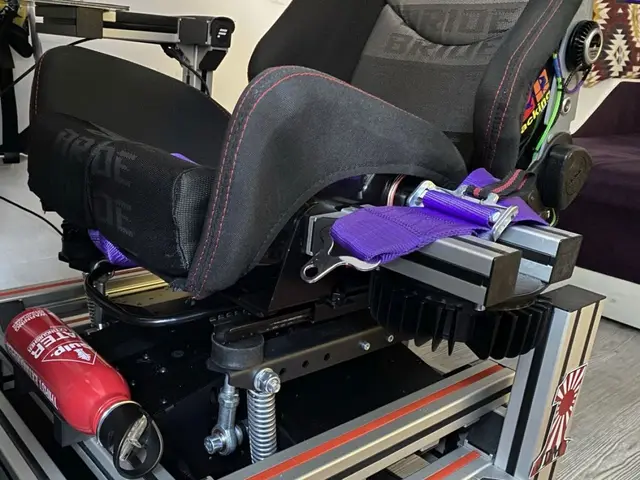
Very simple project to mount full sized bass shakers on the side of virtually any side mounted seat. Using 4040 angle brackets provides enough adjustability as they have longer mounting hole.
5.3K views