
Easy DIY “Hydro” Handbrake
03 April 2024 | Hits: 18638 | Downloads: 1114 | Sim Gear | Free | Digital


-
After I sold my Heusinkveld handbrake needed something easy to print to act as temporary substitution until my new one arrives. Goal was to be Hall Sensor based, analog of course, utilize components I already had and take very little time and effort to assemble.
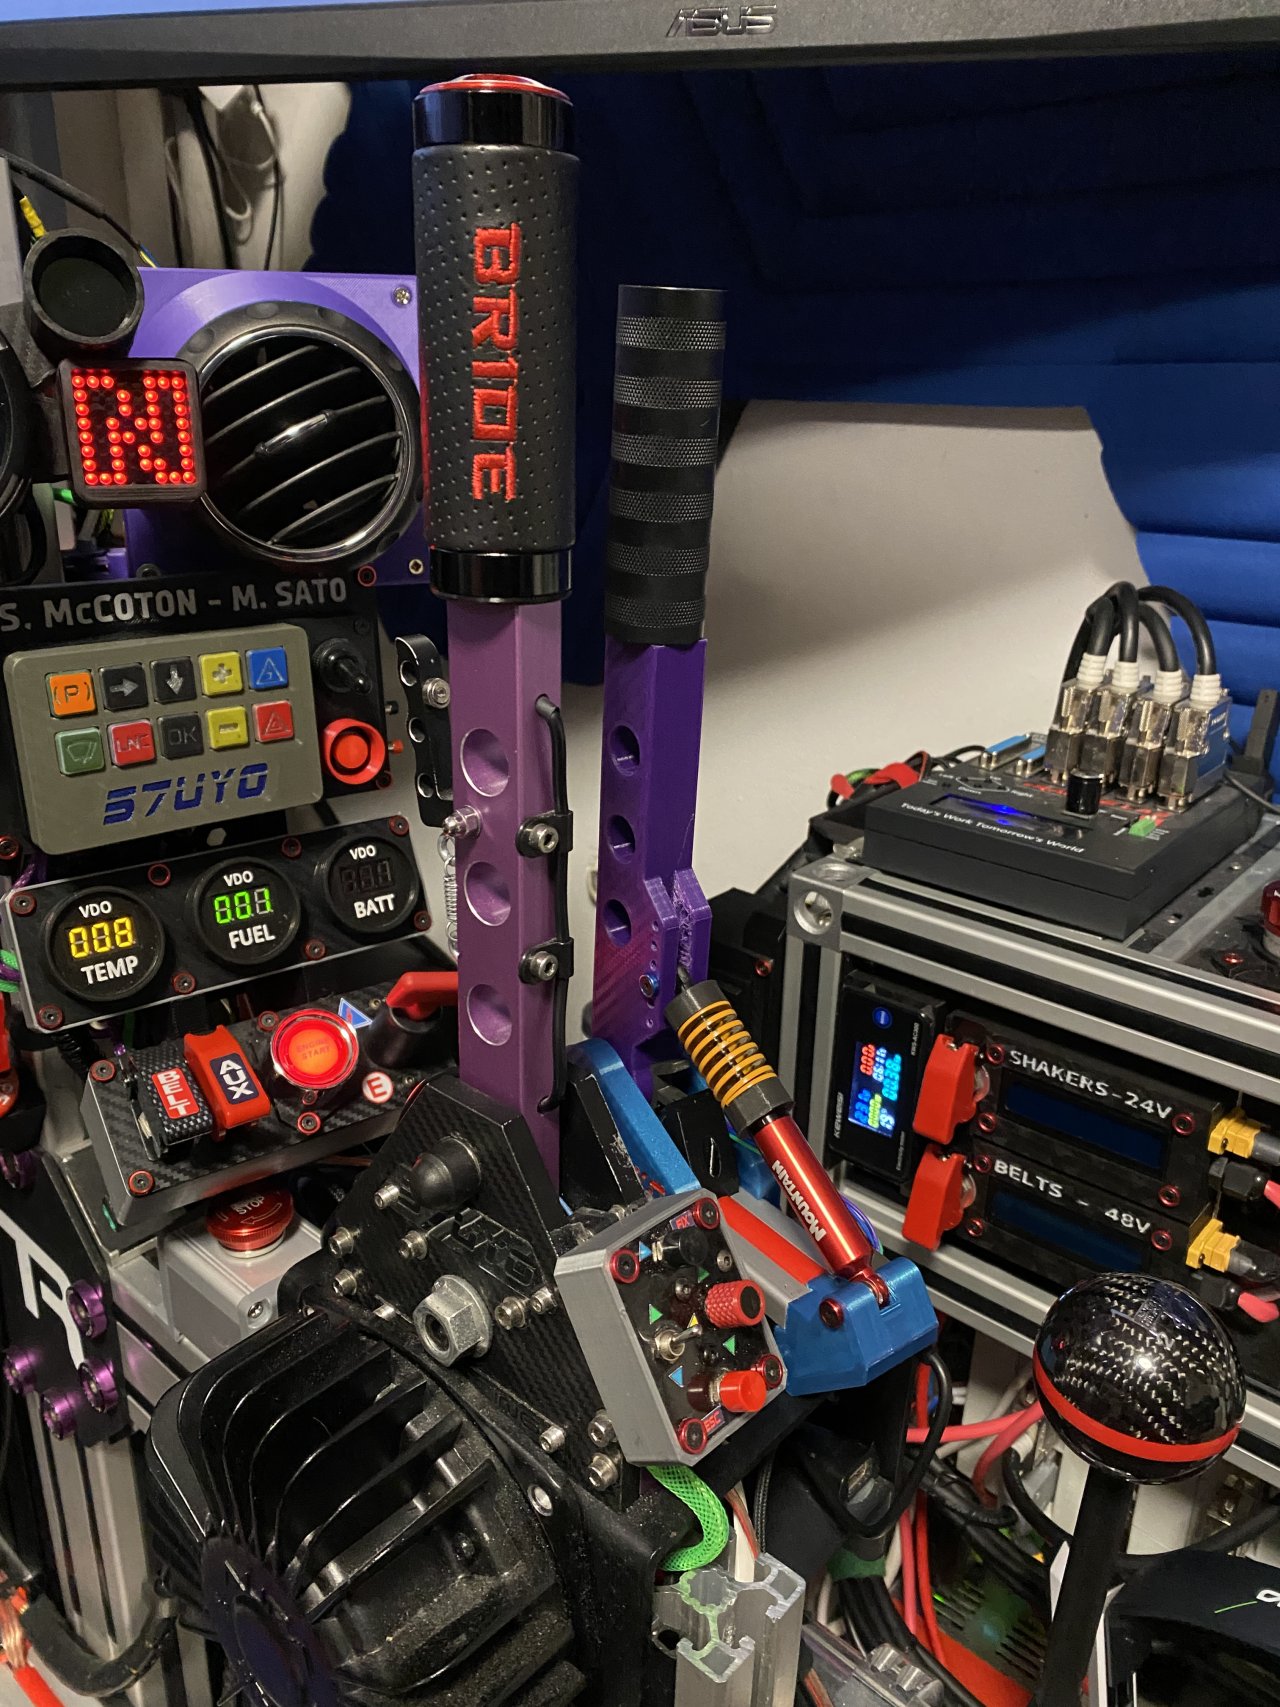
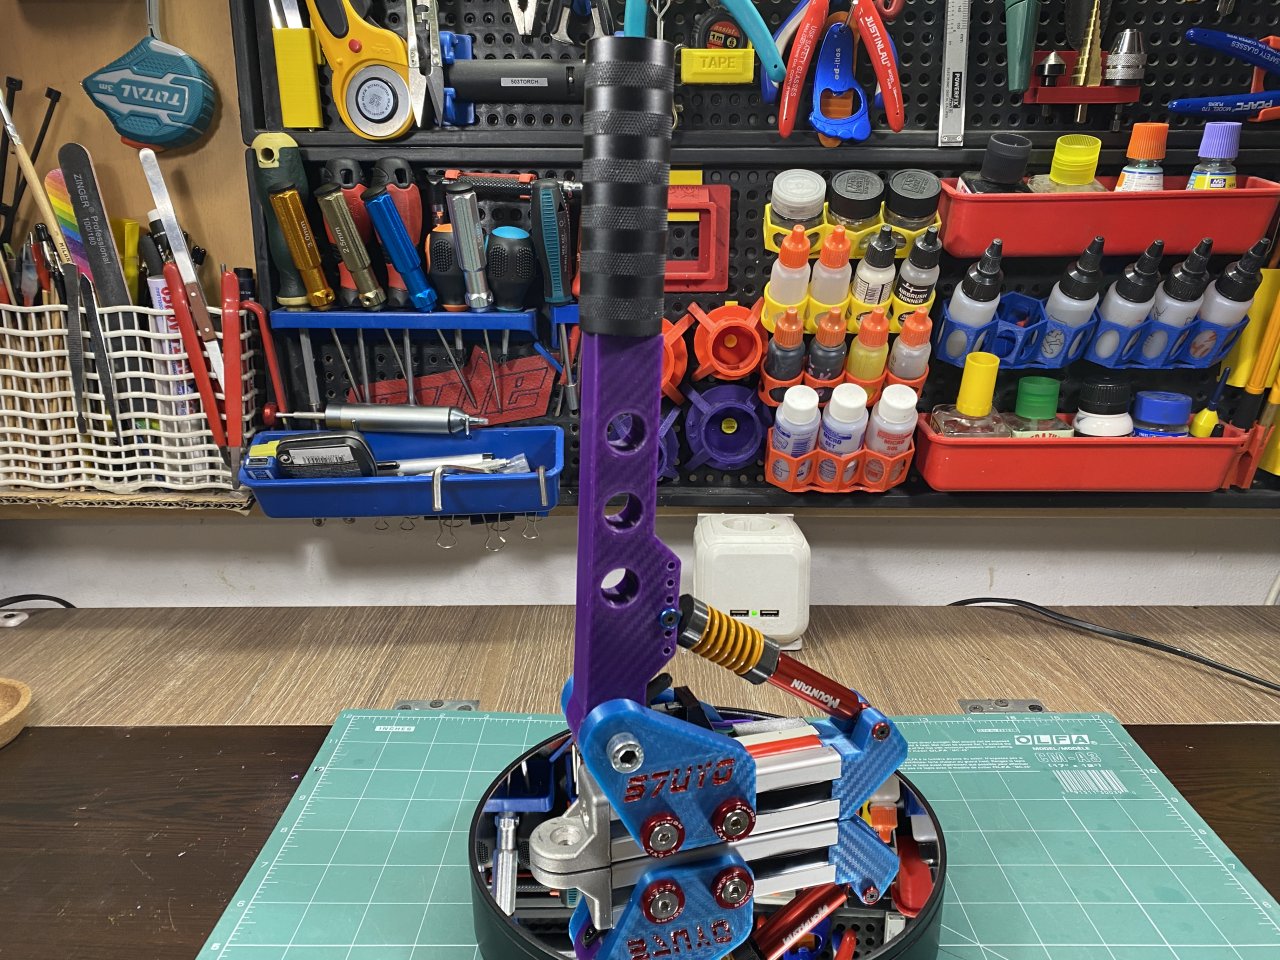
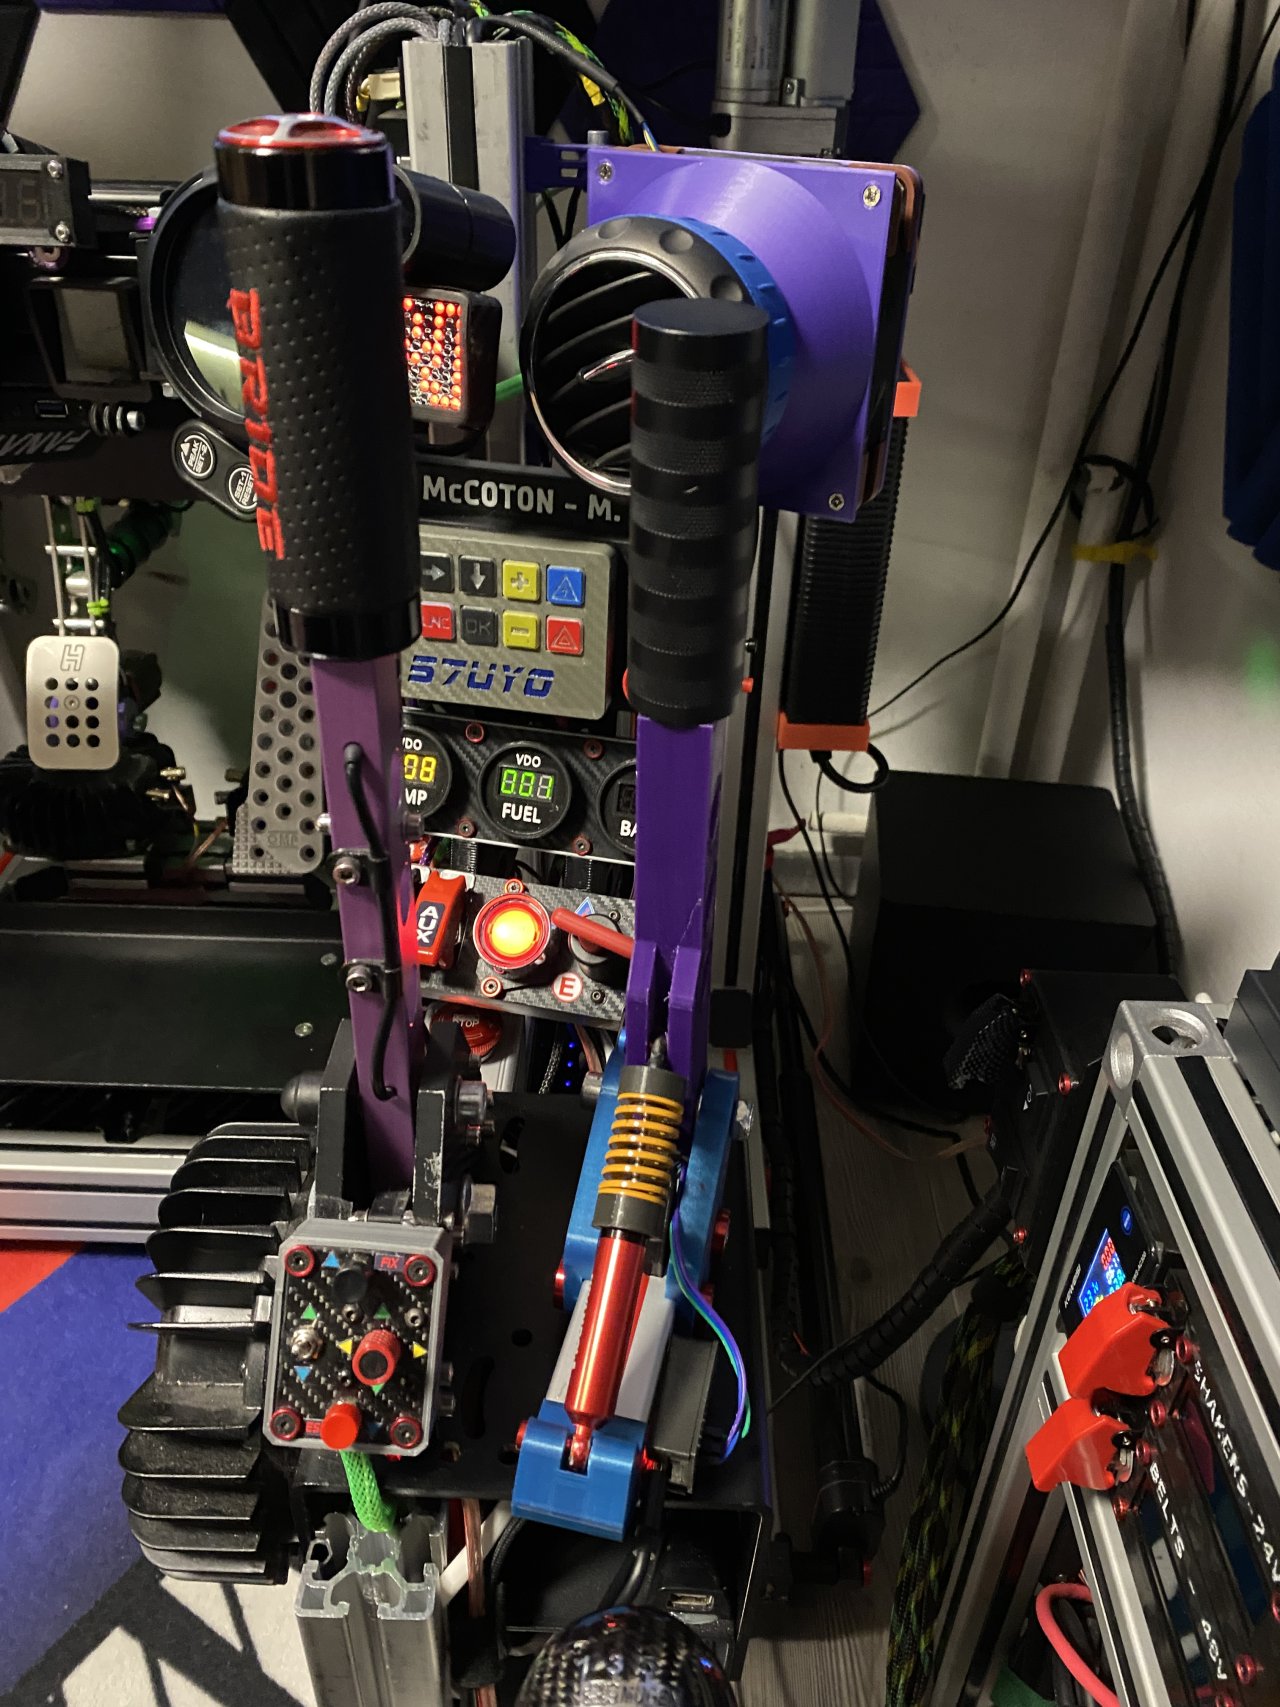
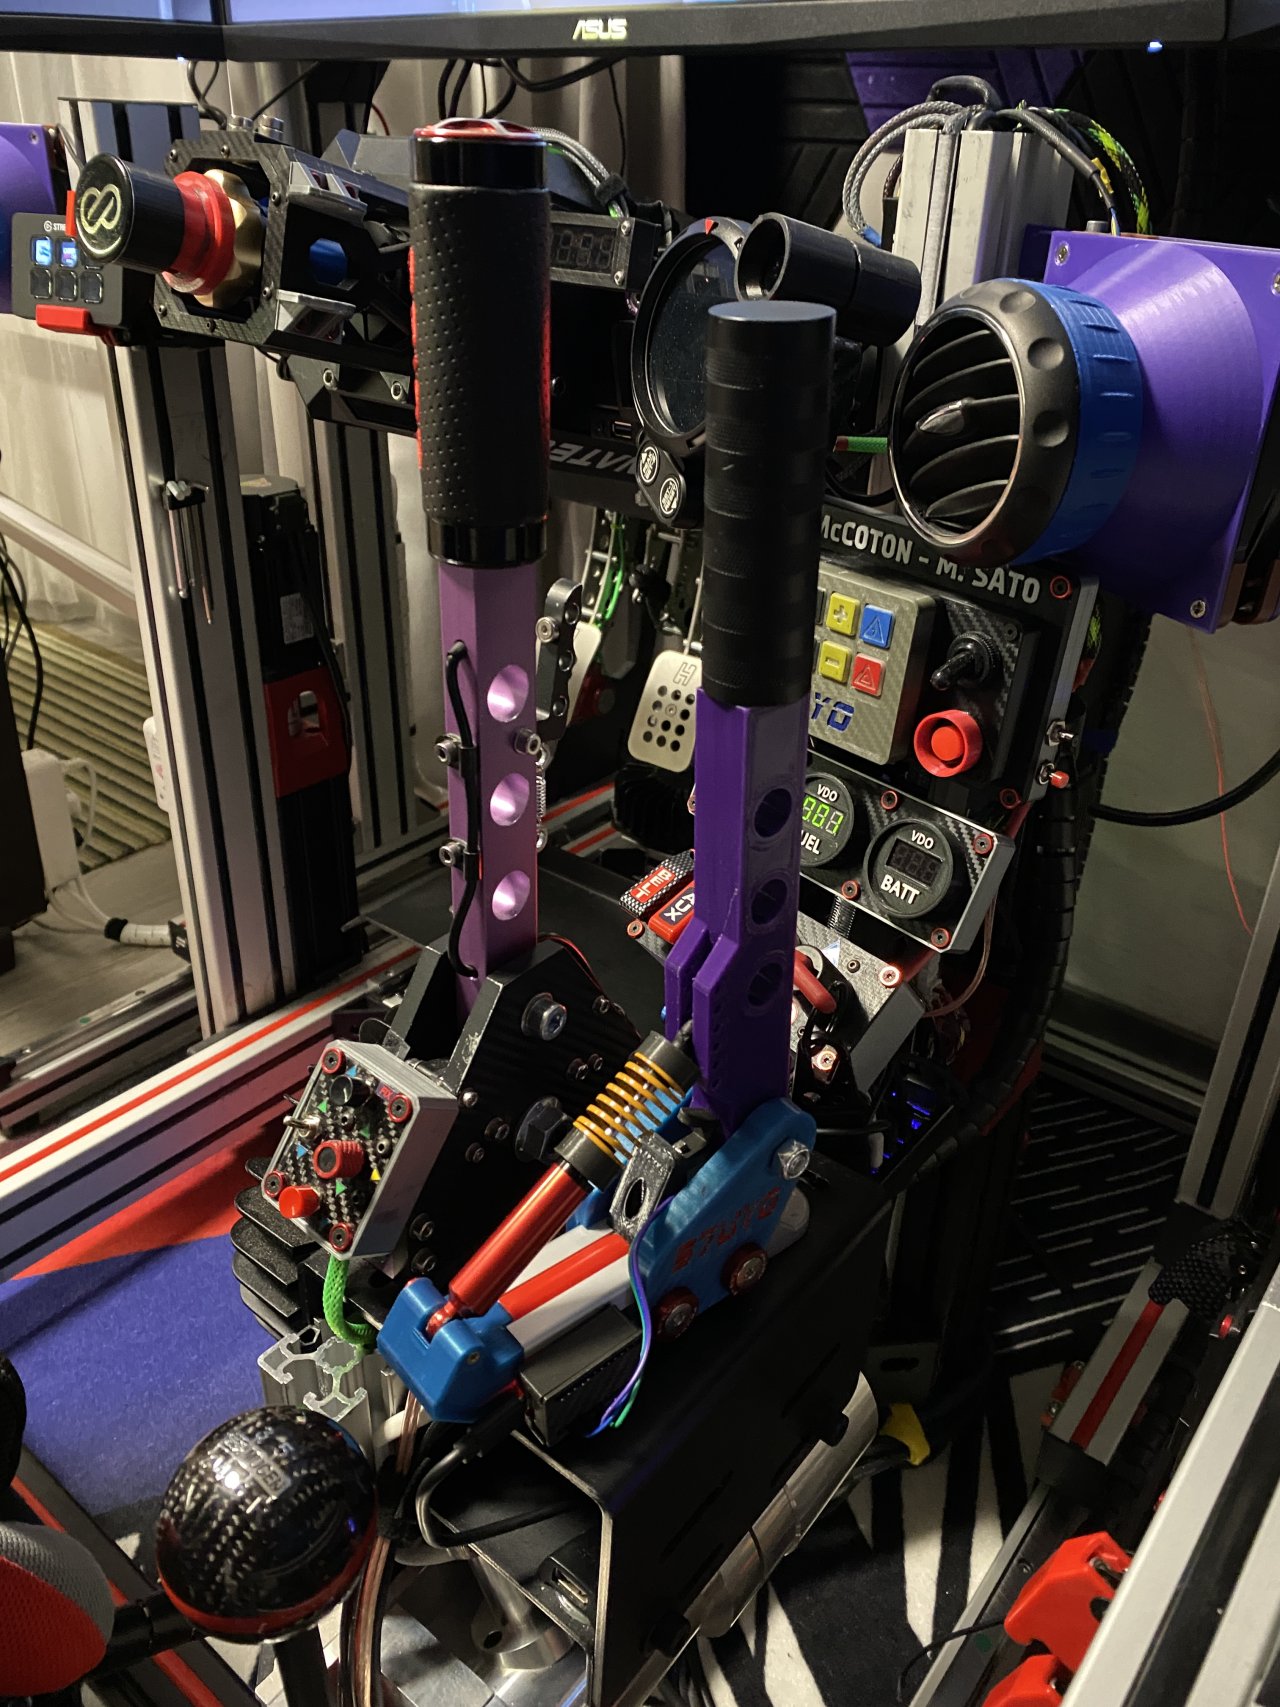
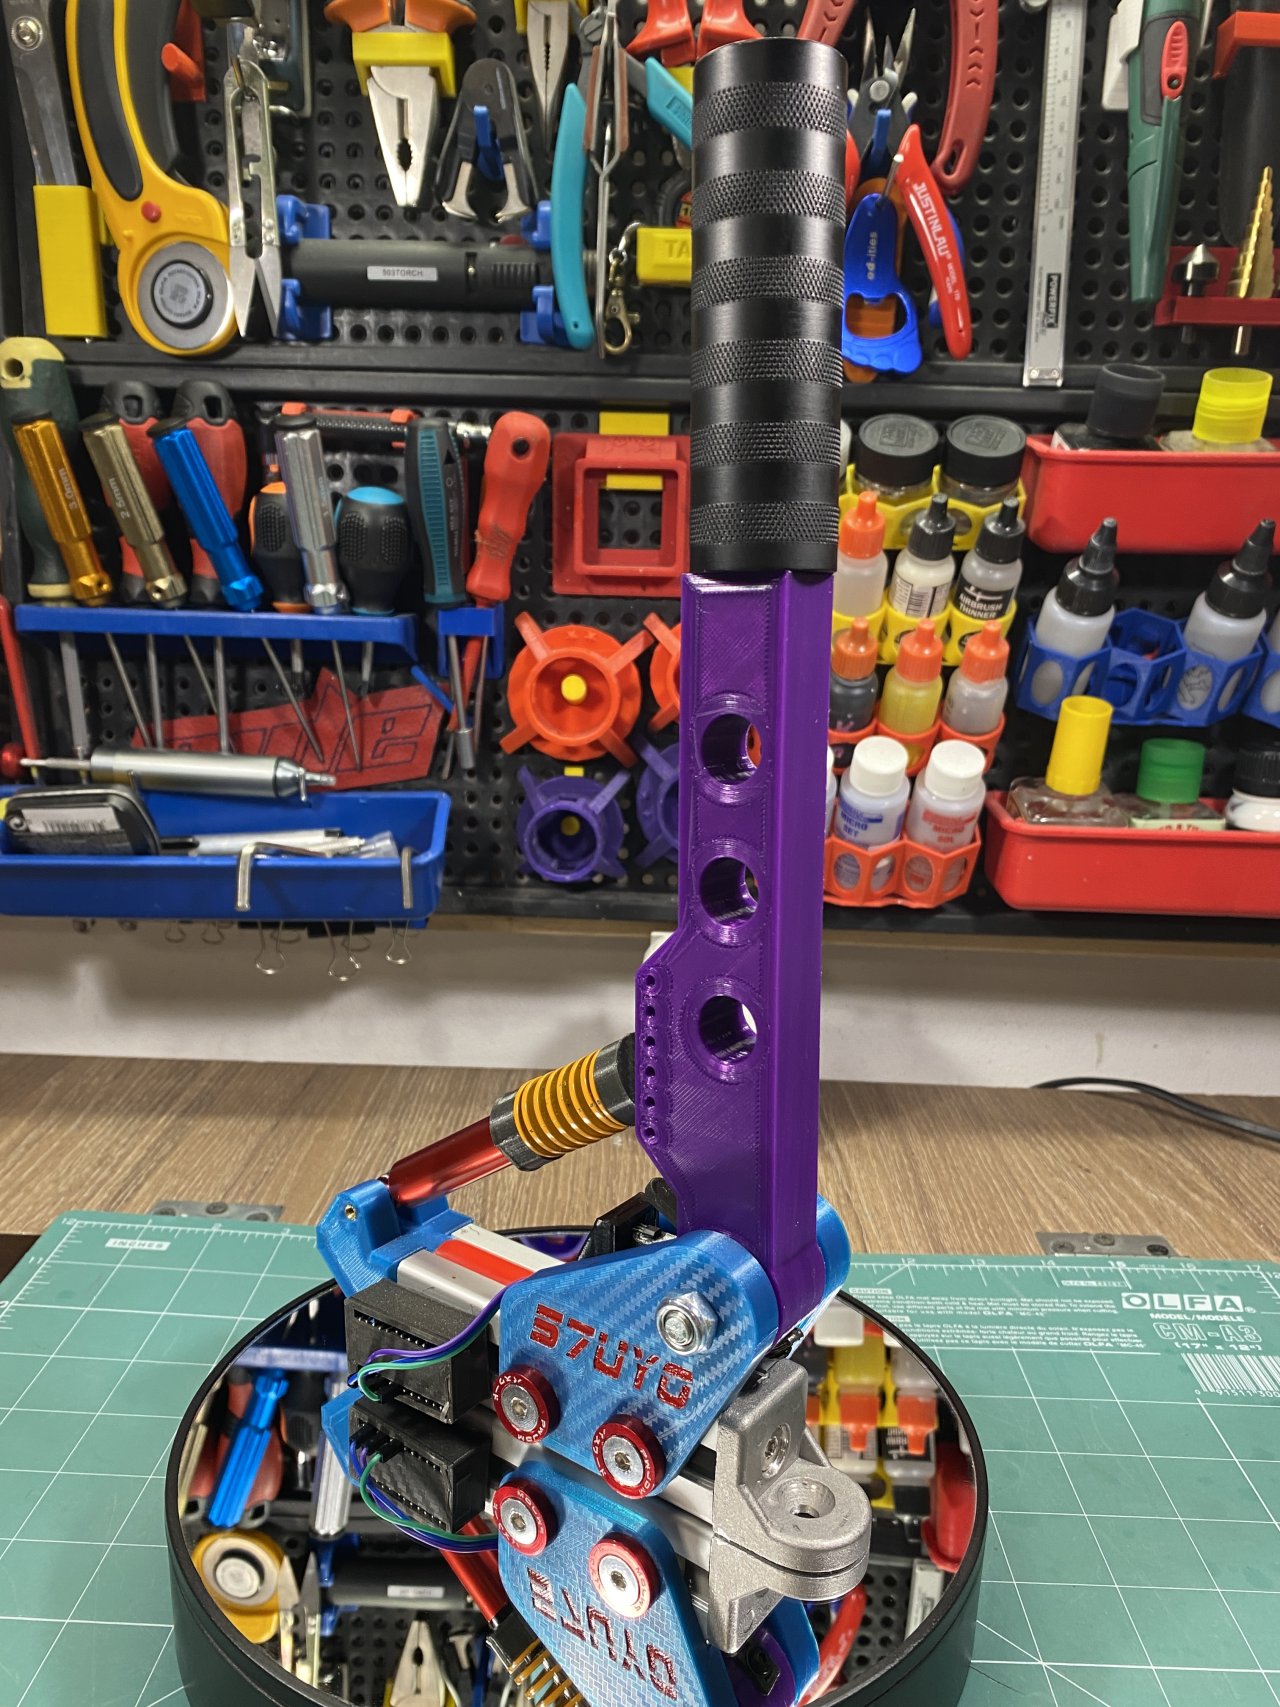
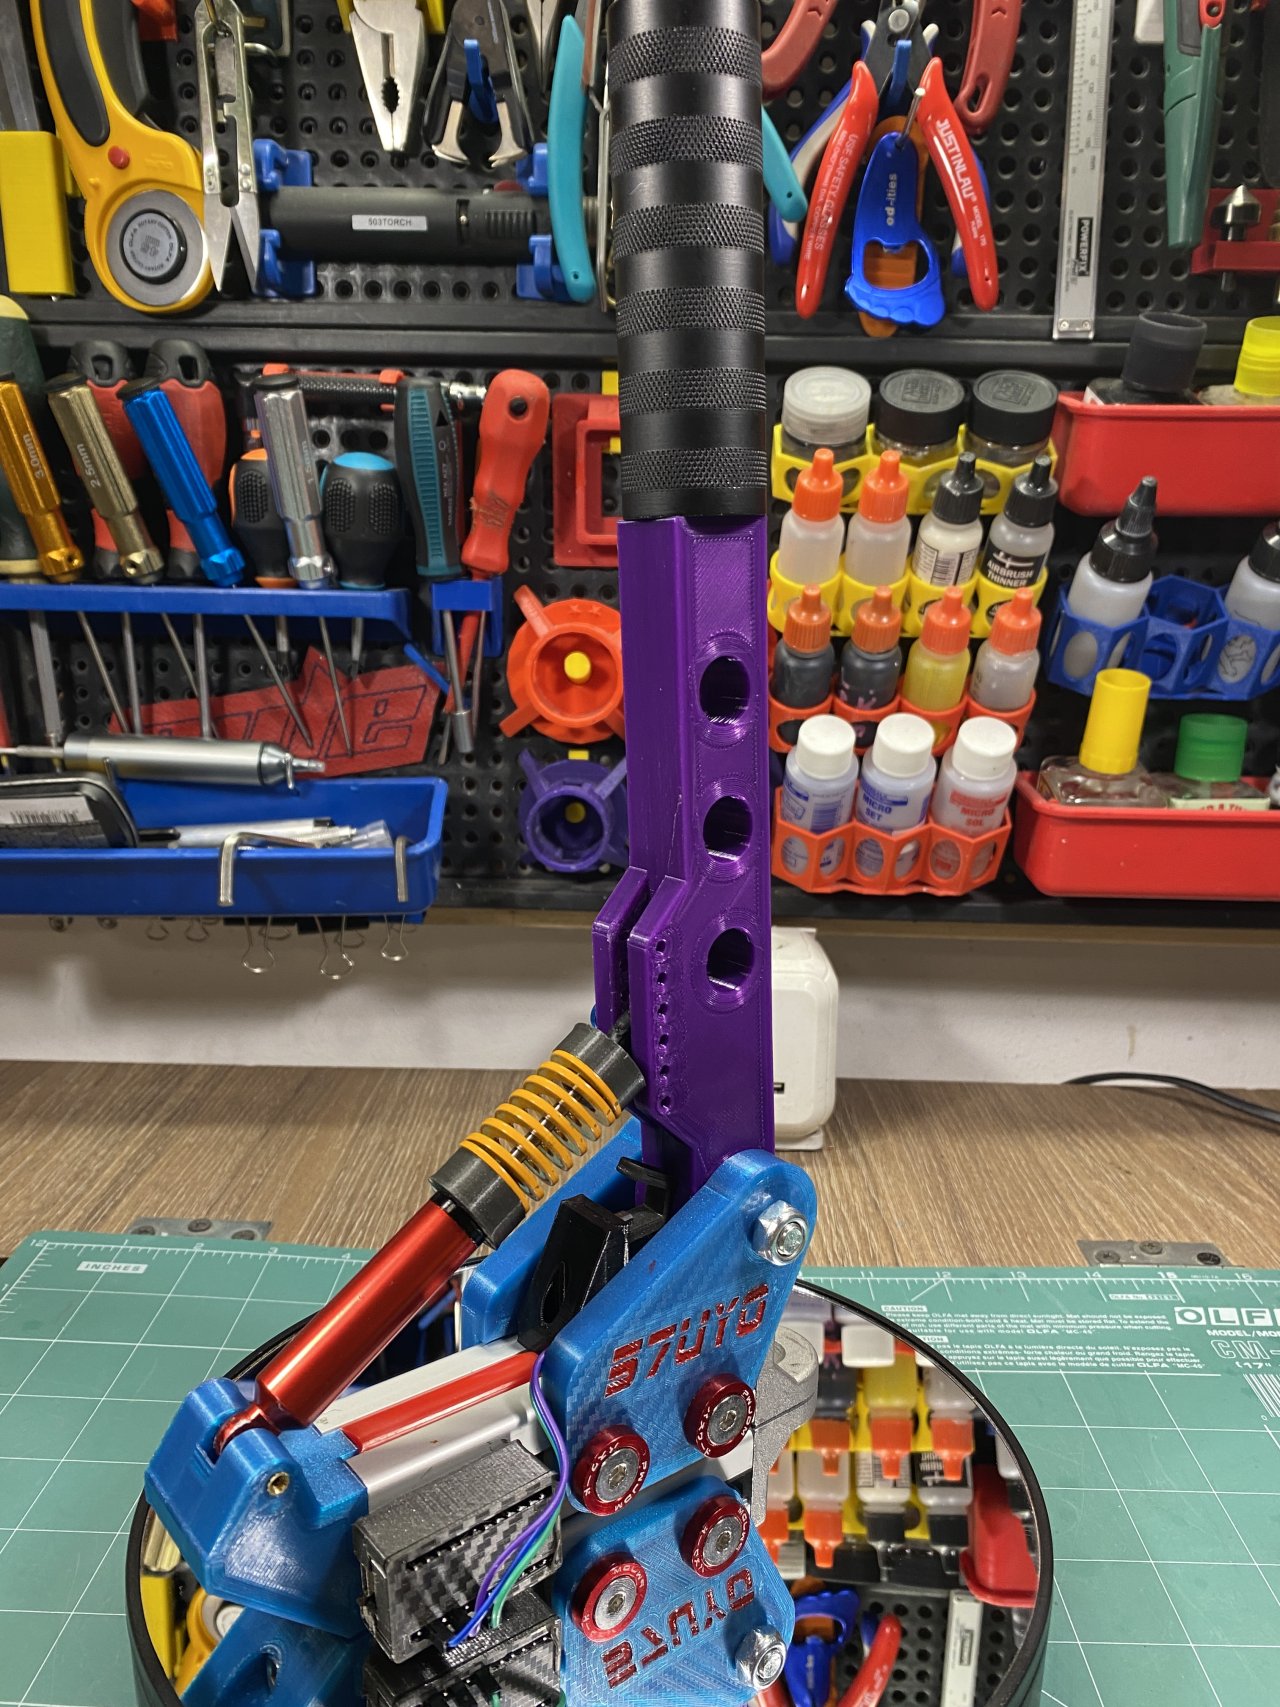
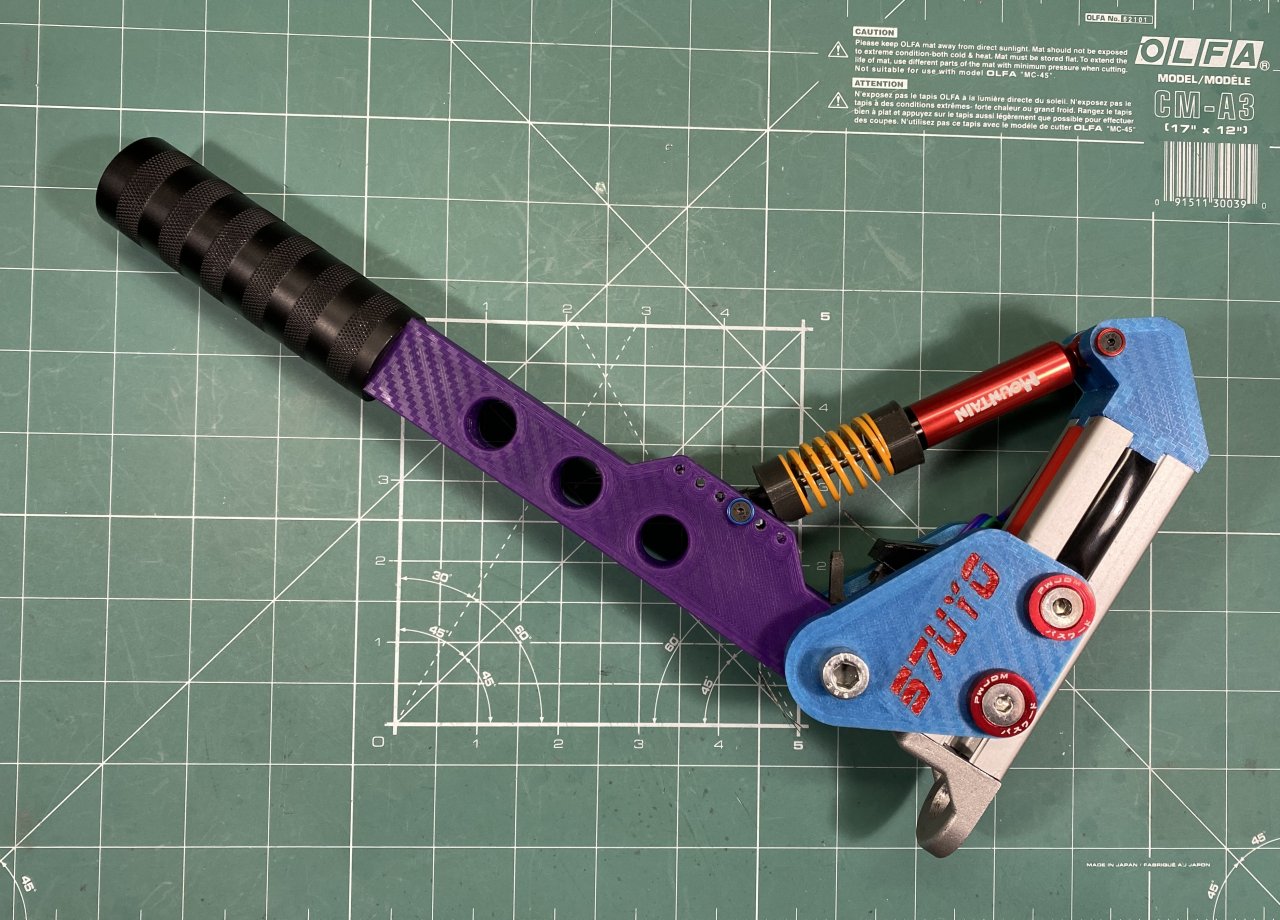
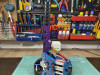
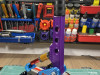
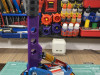
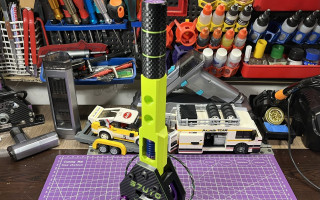
After only 2 hours of design time I came up with this - the World's Cheapest and easiest "Hydro" Handbrake! It also features two magnets on the hall sensor positioned properly to give it almost full range and ultimately better precision.
It turned up to be actually quite good, I previously had both Fanatec and poplar one from Aliexpress - mine has better precision than both and actually quite nice feel. It is also very stable, only the RC shock joints have some play in them as it is quite cheap.
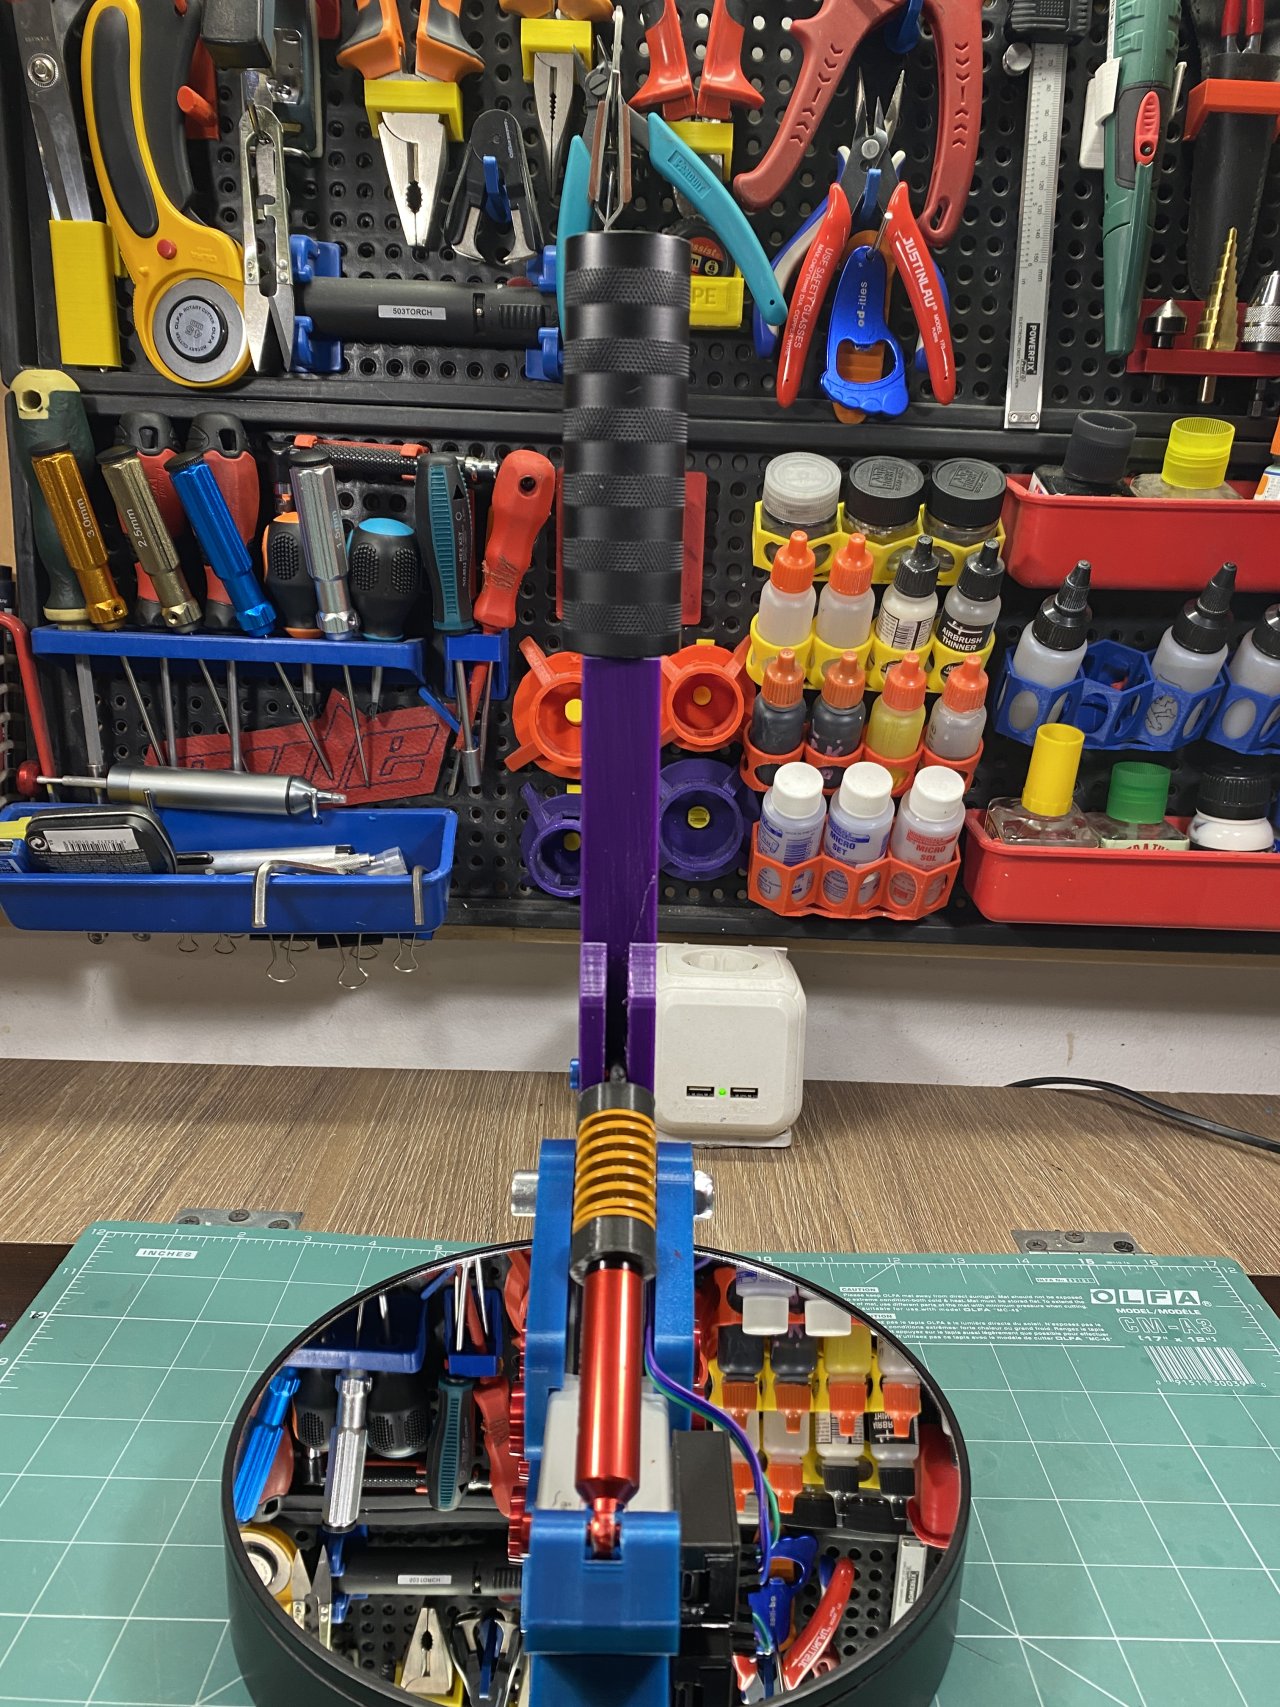
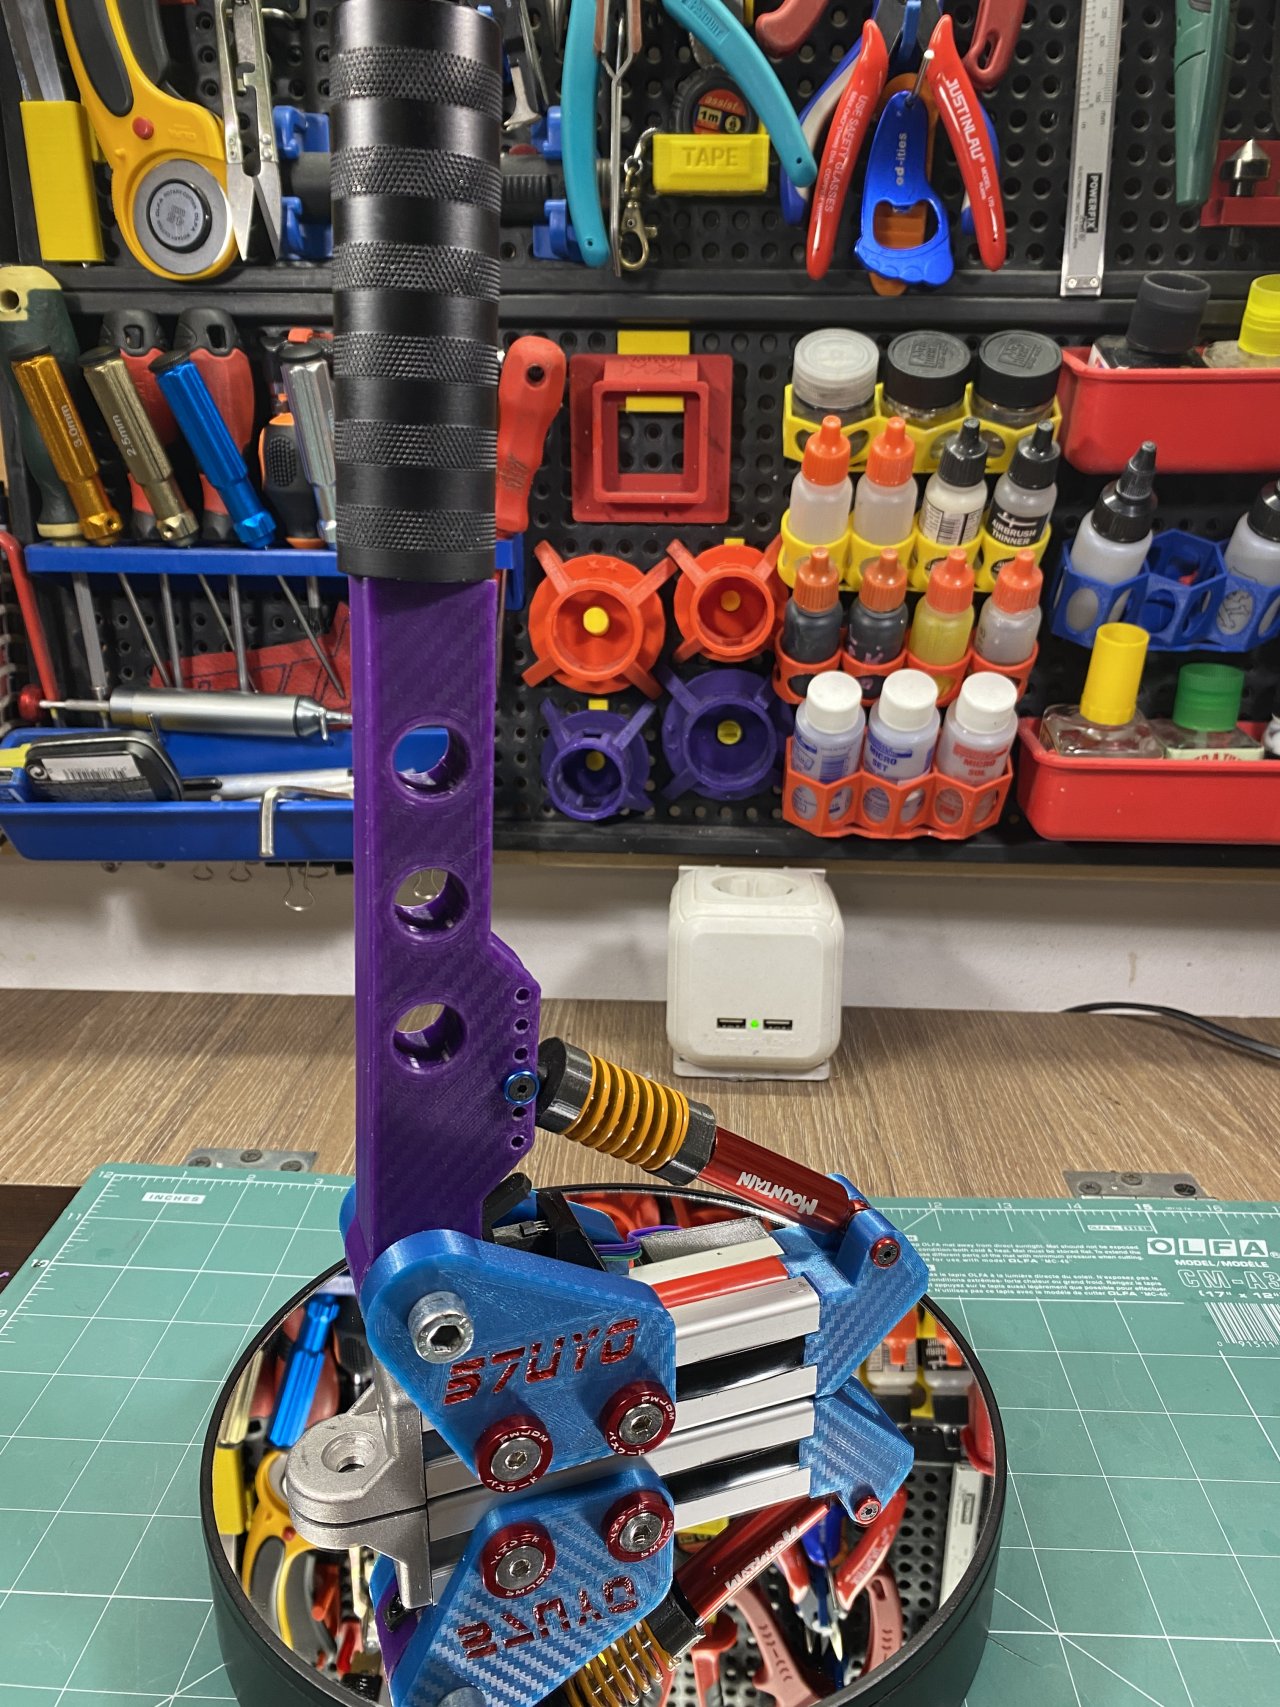
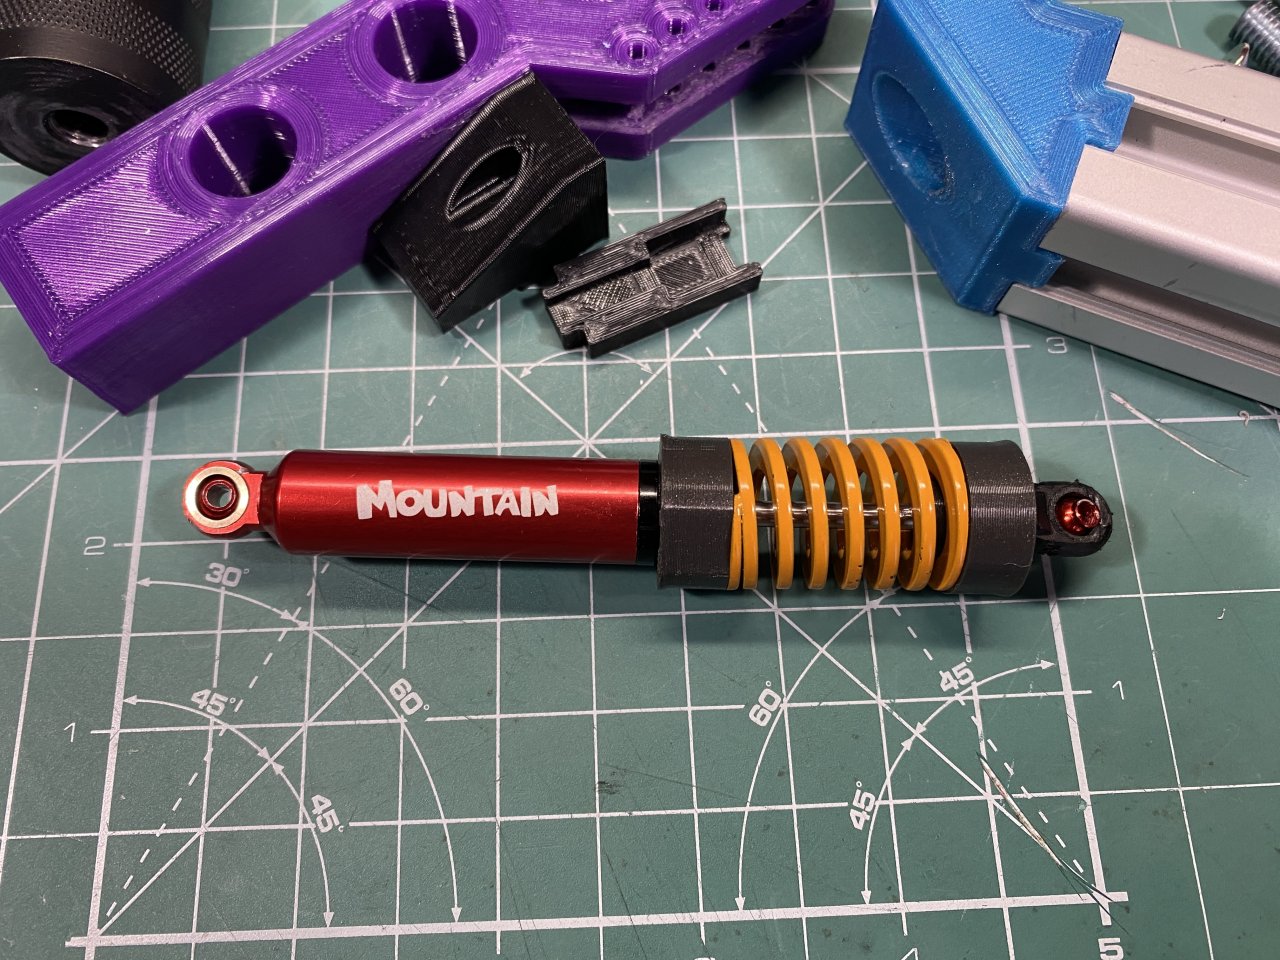
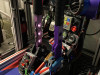
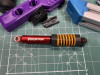
It is "Hydro" as the shock is actually quite weak (the cheapest 110mm I could buy). I put it in very thick RC silicon Oil, which was hardly pouring out from the bottle (it was for diffs, 80 000 CST), but the shock still has virtually no damping with yellow spring. With Yellow spring the feels is quite nice, I do not need any more, but of course you can opt in for stronger one. The shock itself has only 20mm of travel which in this project is great - it is just right enough to give me about 20DEG of rotation on the handle without using any kind of limiters in the design.
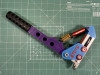
The handle has multiple positions to mount the shock which gives you different resistance and travel, also allows you to make the whole device shorter. I made a little mistake on the spring caps so I couldn't actually use all the mount options, but this is fixed in the files now.
Personally I would be very happy with this handbrake if I had come up with this design before buying the Aliexpress and consecutively the Fanatec one, but of course it is not on part with the Heusinkveld or the new Simagic Hydraulic HB that replaced it.
If you opt in for full metal shock I presume it will have even less play and maybe some damping. I bought 100mm ones for testing, but gave up to use the time on other projects instead. I will also include them in the links, but will leave the modification to you (they have different mount spacings).
Handle not included - any aftermarket handle with M8 interface would work, also you can find quite a lot of printed options ;)
-
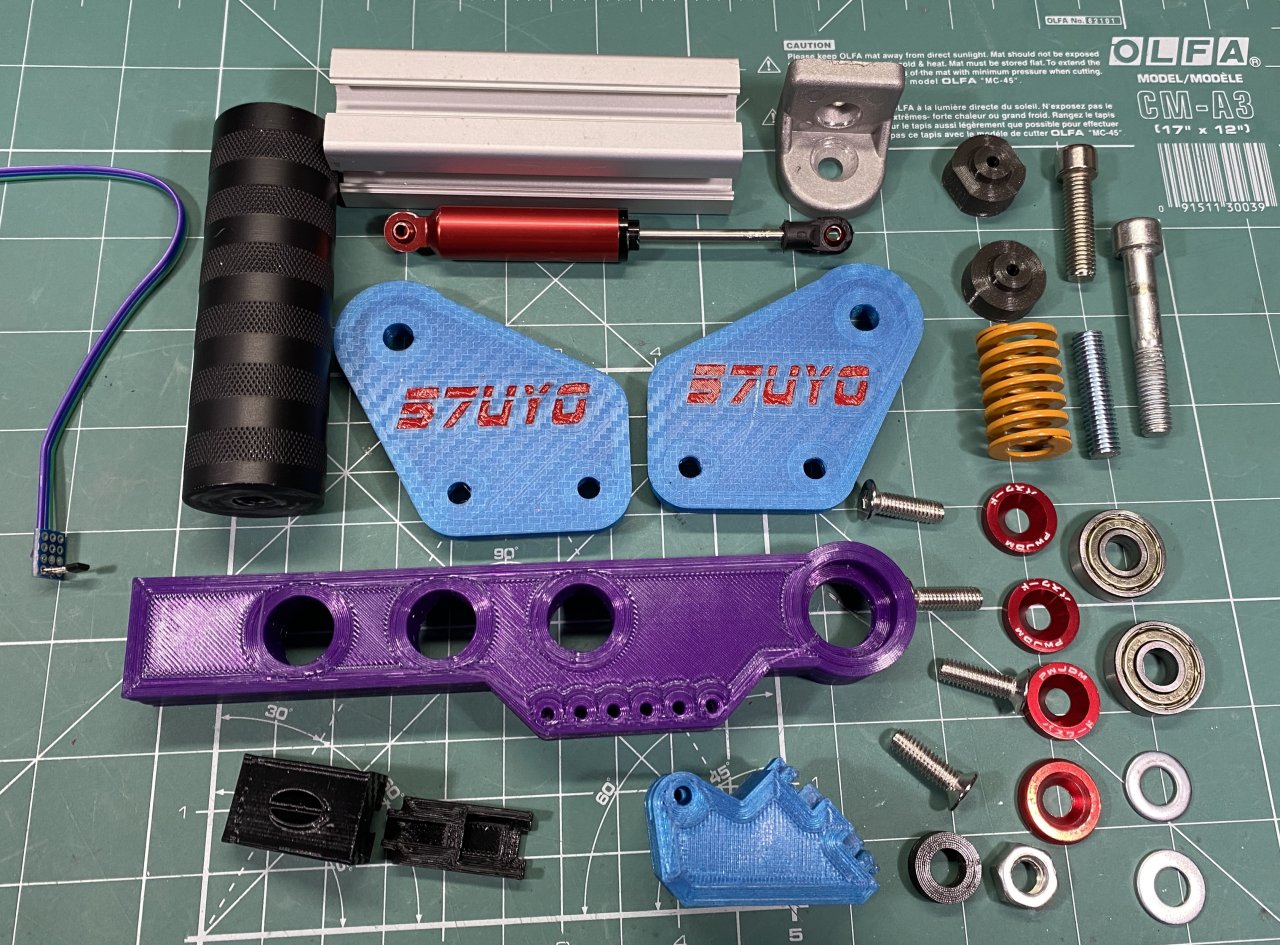
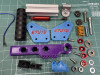
Parts needed:
1. Alu extrusion profile - 3030 x 100mm - base of the handbrake
2. Mounting hardware for the profile to rig
3. Ball Bearings 608 2RS 8x22x7mm (skateboard) - 2x
4. RC Shock 110mm (Built-in Spring Shock Absorber 90/100/110/120mm Damper For 1/10 RC Crawler Car Axial SCX10 90046 Capra Redcat Gen8)
5. Better shock but requires modification of handle and mount - Full Metal RC Piggyback Shock Absorber Hole To Hole 90mm for 1/10 RC Crawler Car
6. Neodym Magnets 4x2mm - 2x
7. M8x40mm (If I remember correctly) bolt + M8 nut
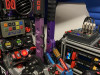
8. Magnetic Hall sensor SS49E - 1x
9. M8 threaded rod to attach handle - you can cut it from longer bolt. Mine was measuring about 30mm
10. Die Spring Spiral Stamping Compression Springs - 20x10x30, I took yellow
11. M6 bolts + M6 3030 T-nuts to mount sides to Alu profile
Parts description:
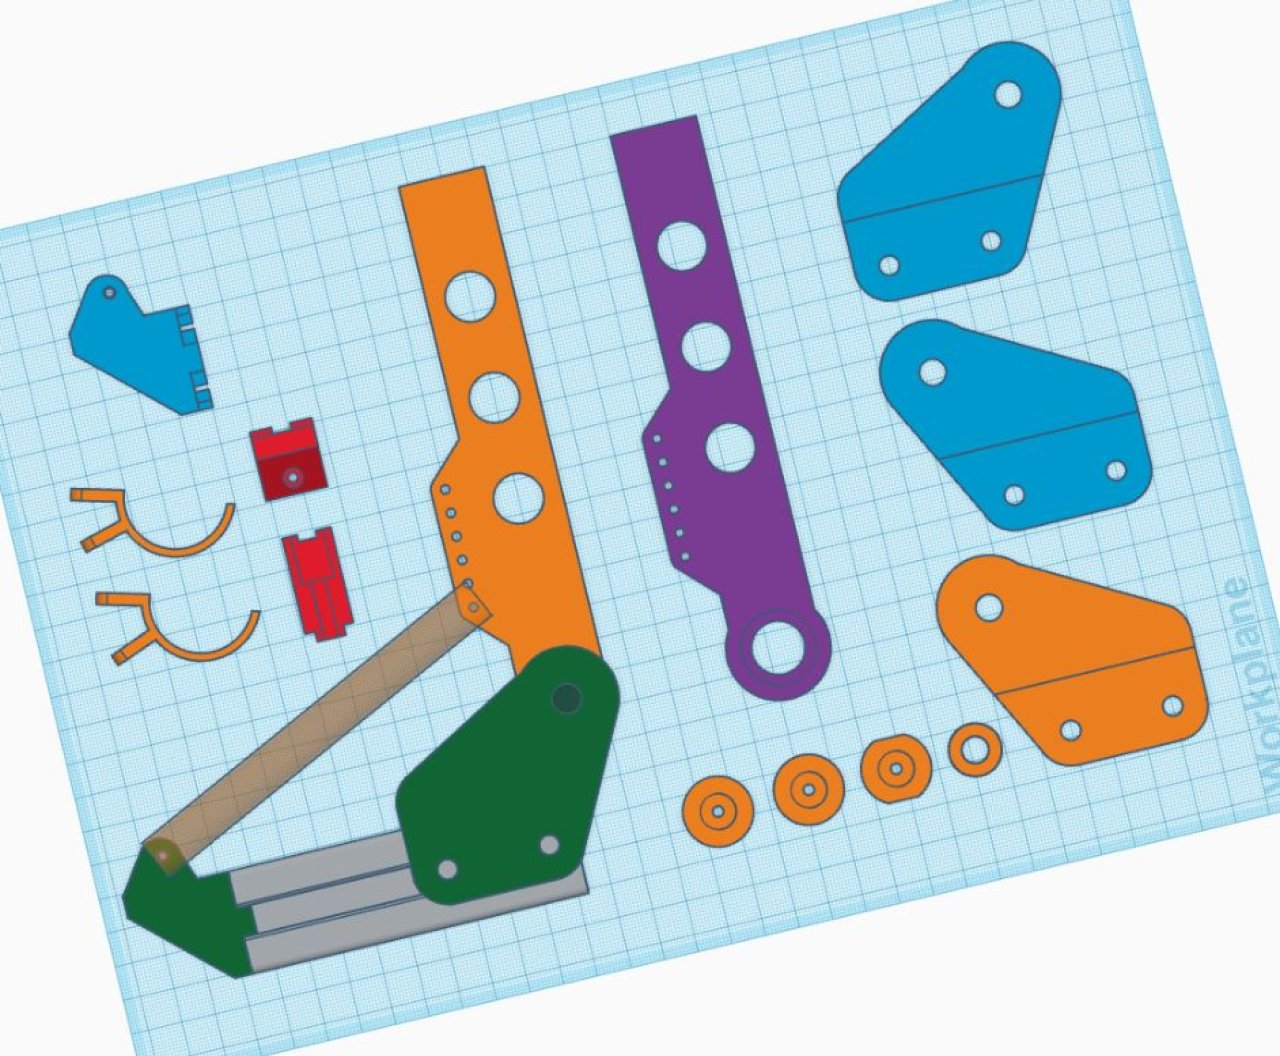
Ball bearing spacer - sits between the two ball bearings in the base of the level
Sides - have L+R with logo or single without that you can mirror in slicer
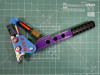
Hall sensor mount - It is designed to hold the sensor soldered to small PCB, you can see it on one of the pictures. Until the video is edited I do not have any other pictures how it looks. you can slide it back-forth and height was measured to fit sensor exactly on the middle of magnet assembly
Magnet assembly - screws in the two small holes on the base of the lever, can be adjusted. Have two sizes - for short and long travel depending on shock mount position
Shock - shock shaft has to be disassembled from the body side so you can slide in the spacers + spring. With 20mm travel on the shock the 30mm spring fully compresses, if you modify end caps you can fit 35mm as well. I think 40mm will be too long for this shock and it is not actually needed.
Print settings:
I printed everything with 12 walls, layers top and bottom for extra durability, but most probably it was overkill. Infill everywhere at 40%
Supports are needed for the handbrake arm(lever), magnet holders and lower shock mount.
-
Comments (1)
Leave a comment
beno
I have a question about wiring and connection to pc, how is that?