
QR Pin Connector Fanatec
Uploaded 11 January 2024 | Hits: 15999 | Downloads: 908 | Steering Wheels | Free | Digital


-
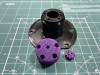
DIY QR Pin Holder based on Alexbox364 design on Thingiverse, which in turn is based on the Fanatec Emulator work done by Ishachar and Darknao.
For more info on my part of the project check here: DIY Fanatec Barebone Emulator
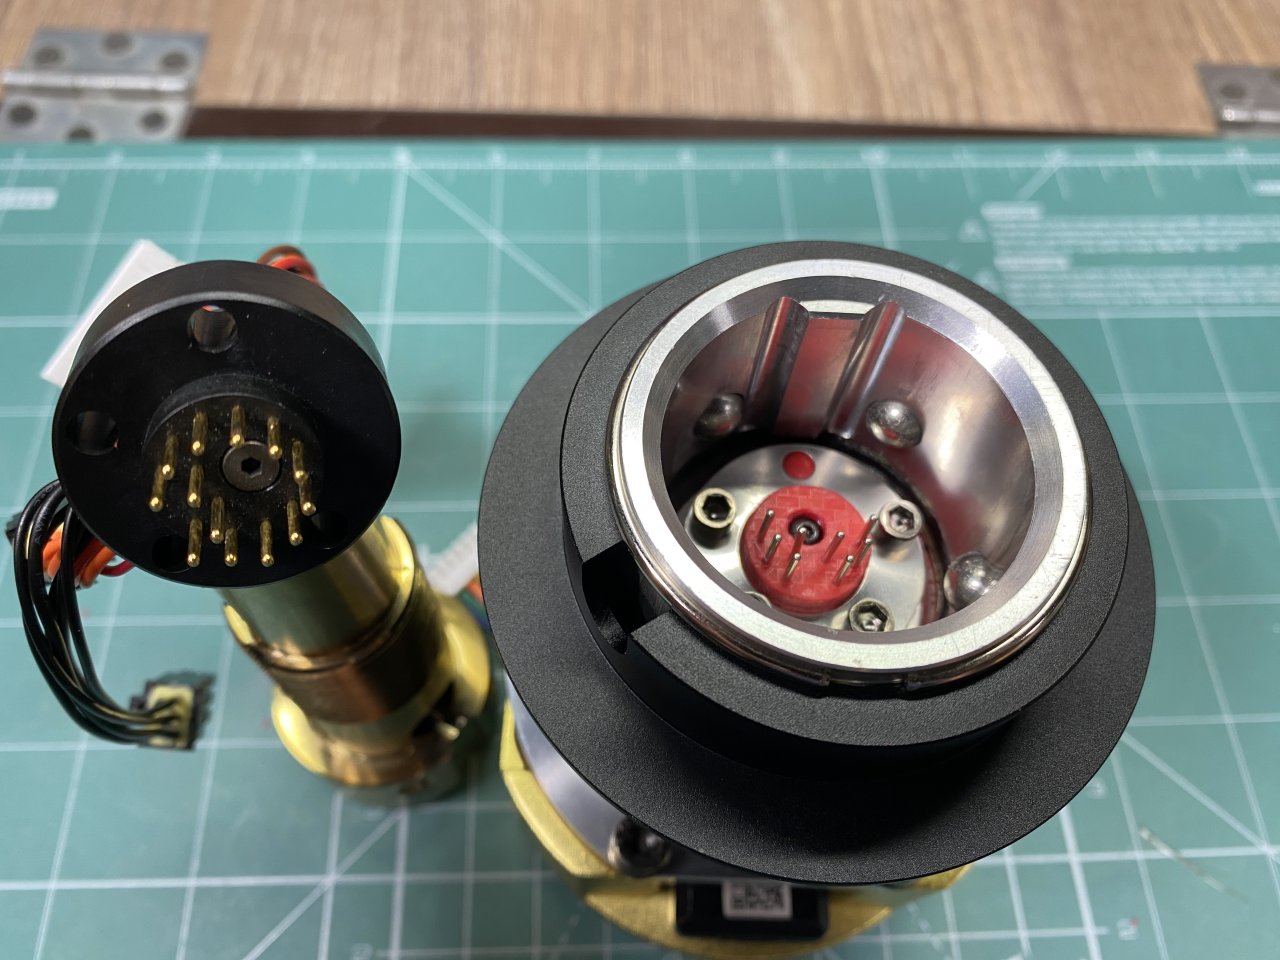
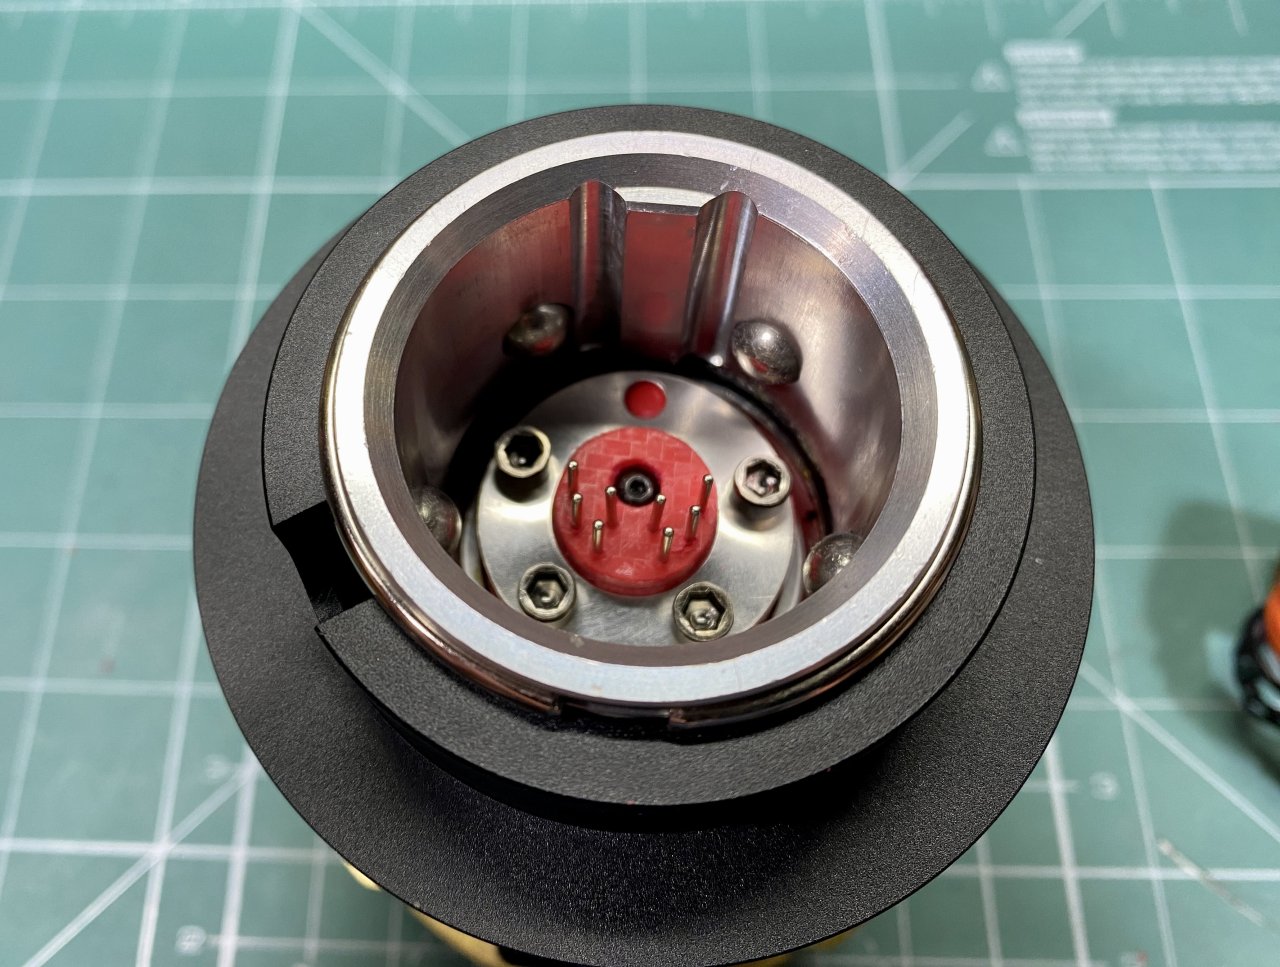
This was modified to fir the Fanatec Podium HUB as it's connector has different height.
DIY QR Pin Holder based on Alexbox364 design on Thingiverse, which in turn is based on the Fanatec Emulator work done by Ishachar and Darknao.
For more info on my part of the project check here: DIY Fanatec Barebone Emulator
This was modified to fir the Fanatec Podium HUB as it's connector has different height.
I have included following options :
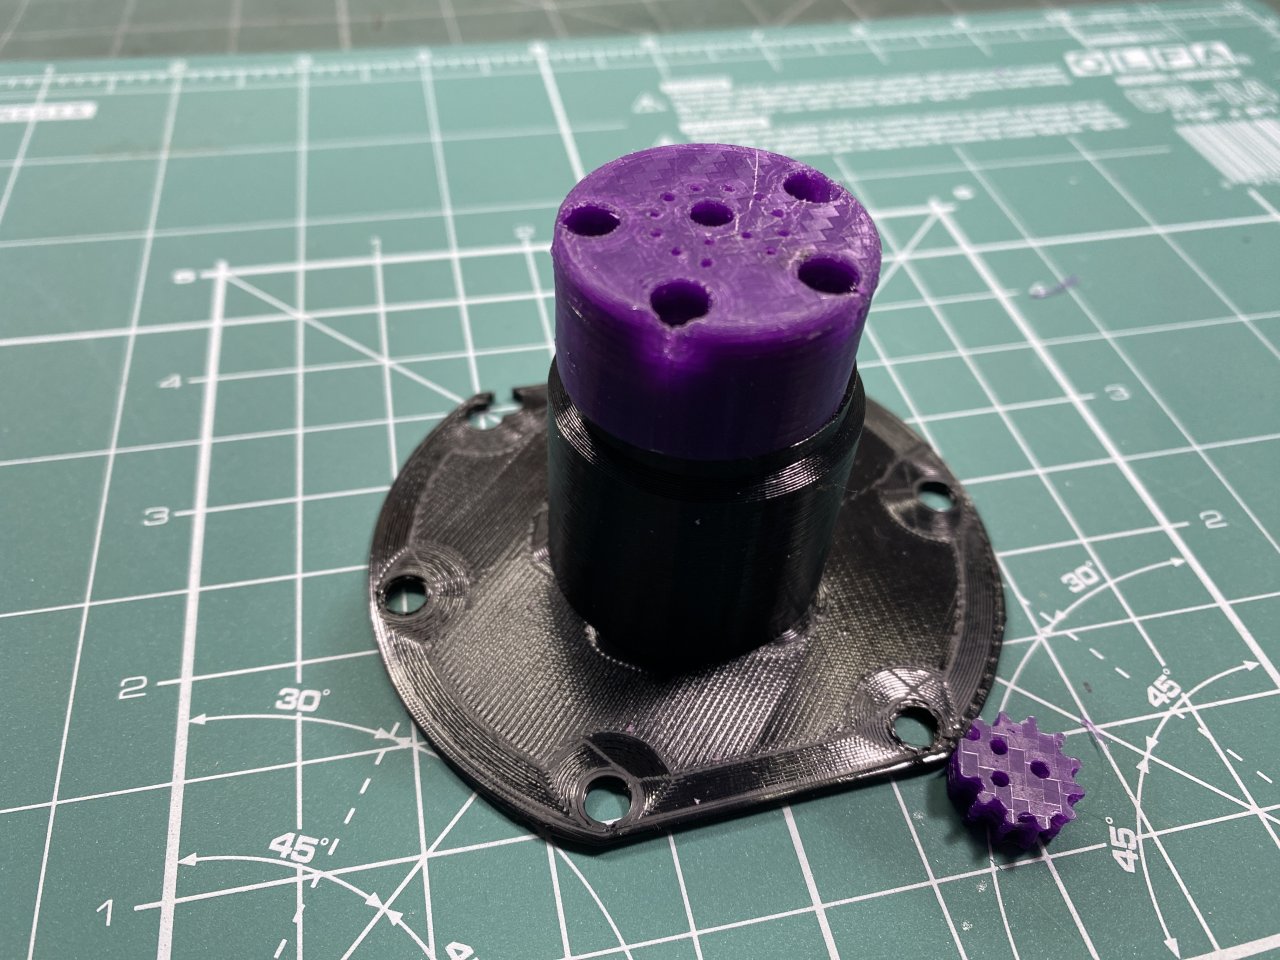
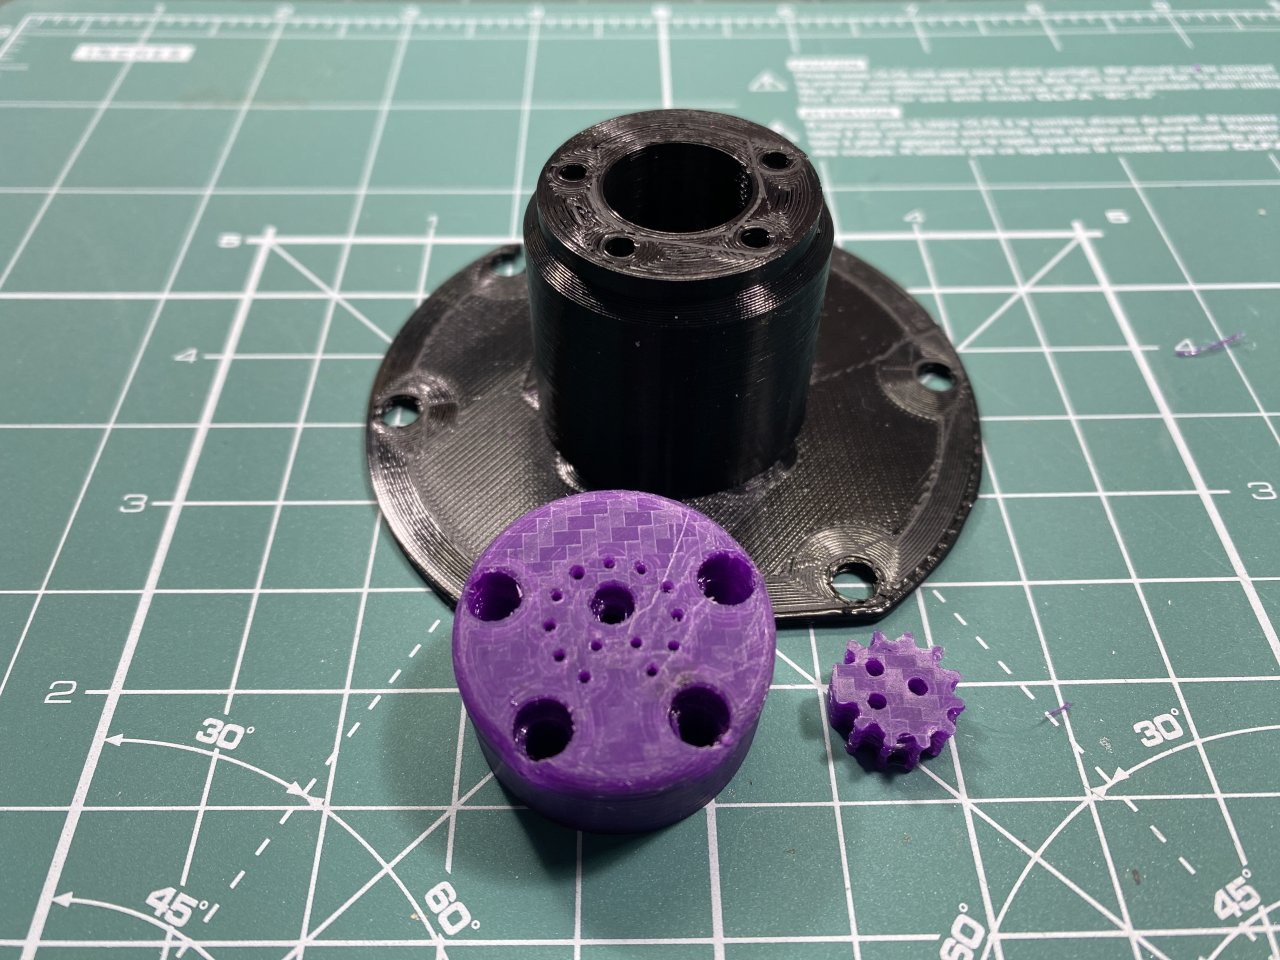
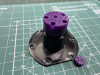
1. Classic design after the QR1 Podium Hub connector
2. "Modern" based on QR2 upgrade, again Podium Hub Spacing, easier for printing as it has flat face, works very well with my Podium hubs
3. "Updated QR2" design which is the original height of Alex's pin holder and should fit his QR support so you can build whole wheel using only a Fanatec QR.
N.B. - Both Podium connectors have same height - keep in mind this was tested only with QR1! It is possible QR2 has different offset so the pin holder needs to be adjusted in height.
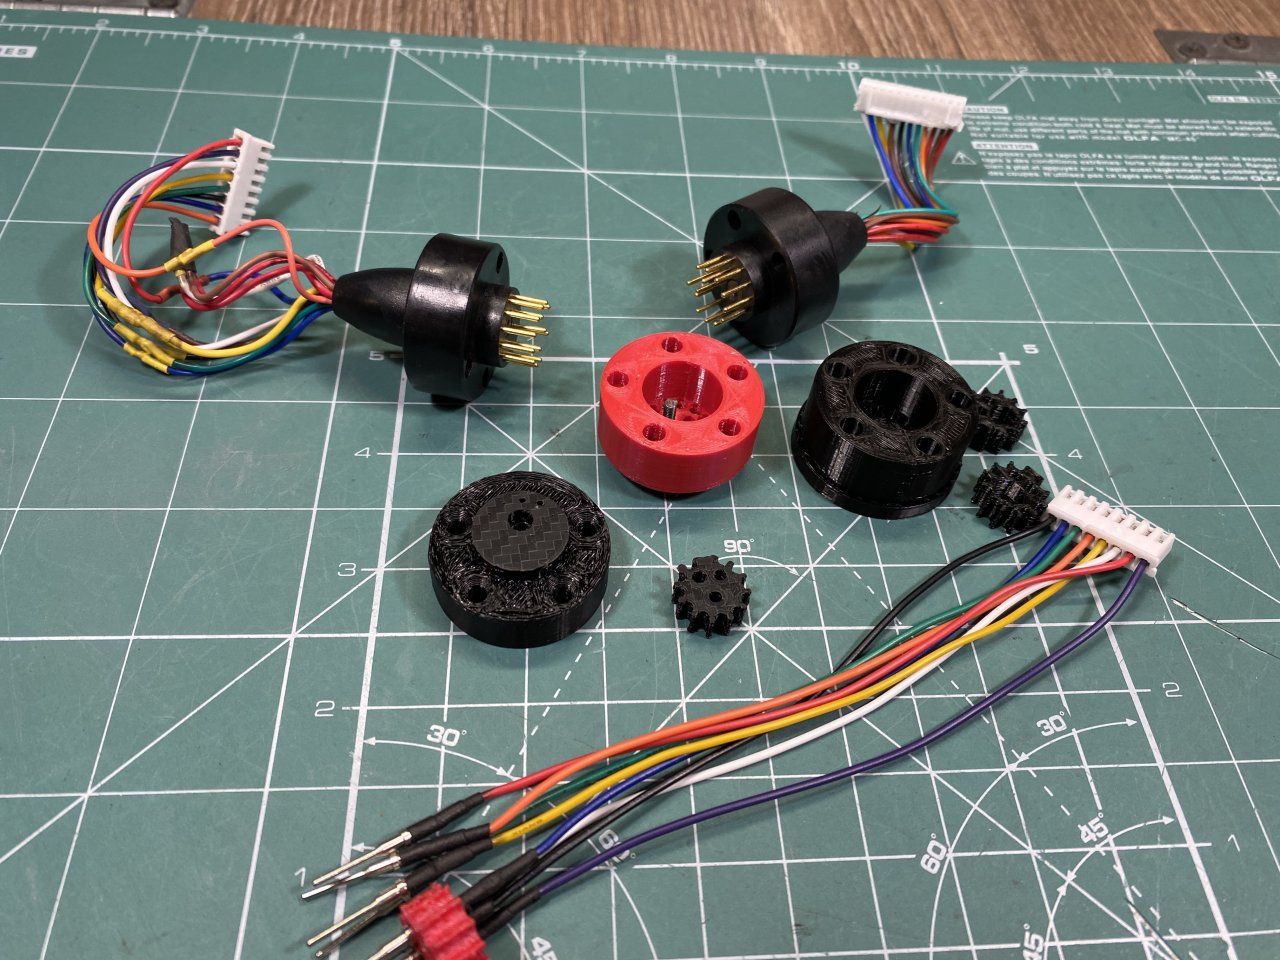
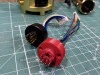
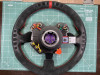
Also in the file you will find Alex's original QR lock to keep the pins in place and the QR Support to build whole hub yourself using only a Fanatec compatible QR.
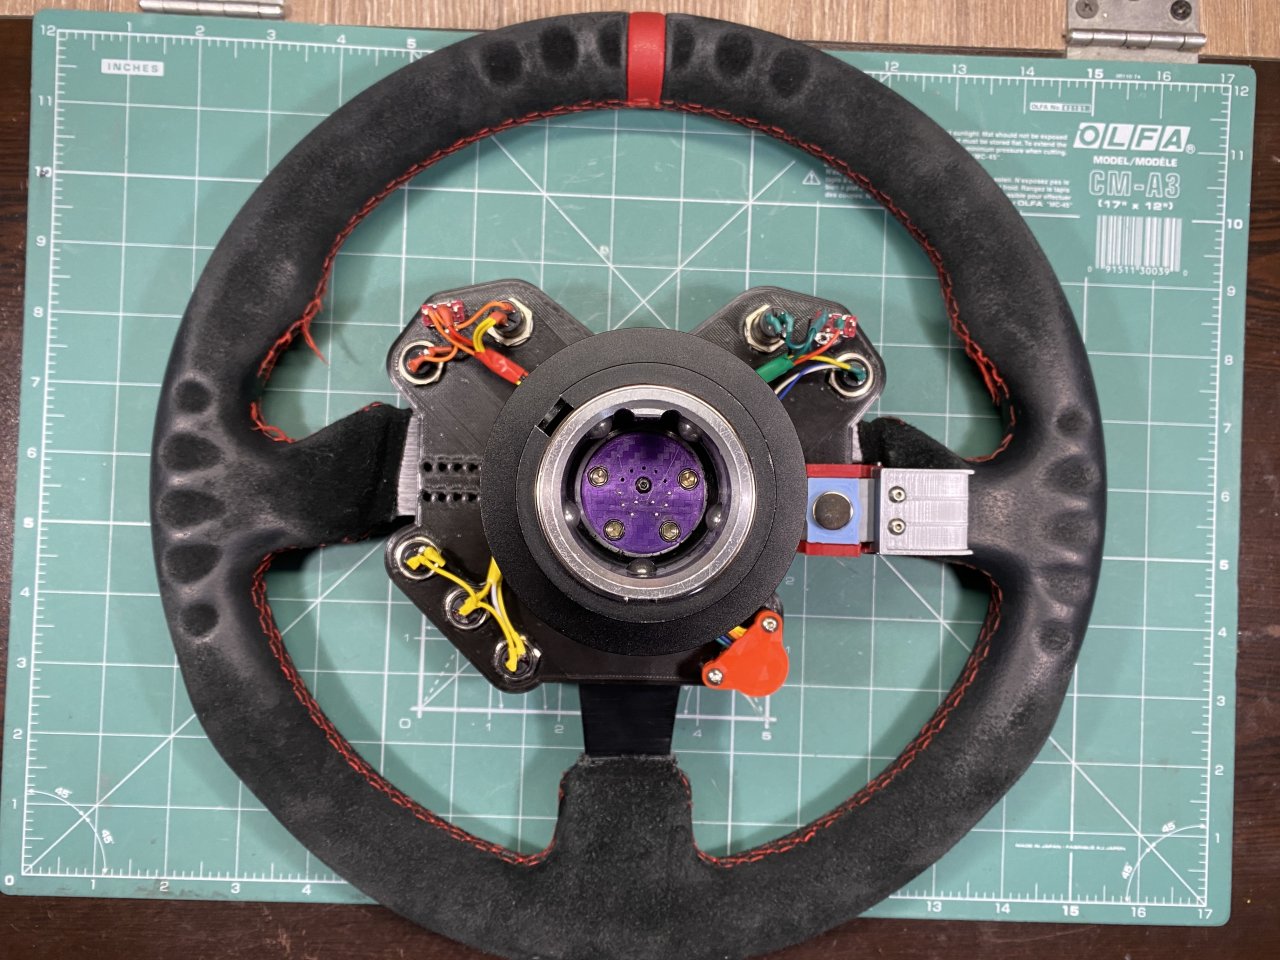
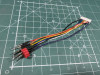
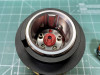
Best part of this project is that you can make yourself the plug and connect it to whatever interface cable you need for your project without destroying the original expensive connector. Also you can connect only the numbed of pins you would need and save some work and expensive pins.
-
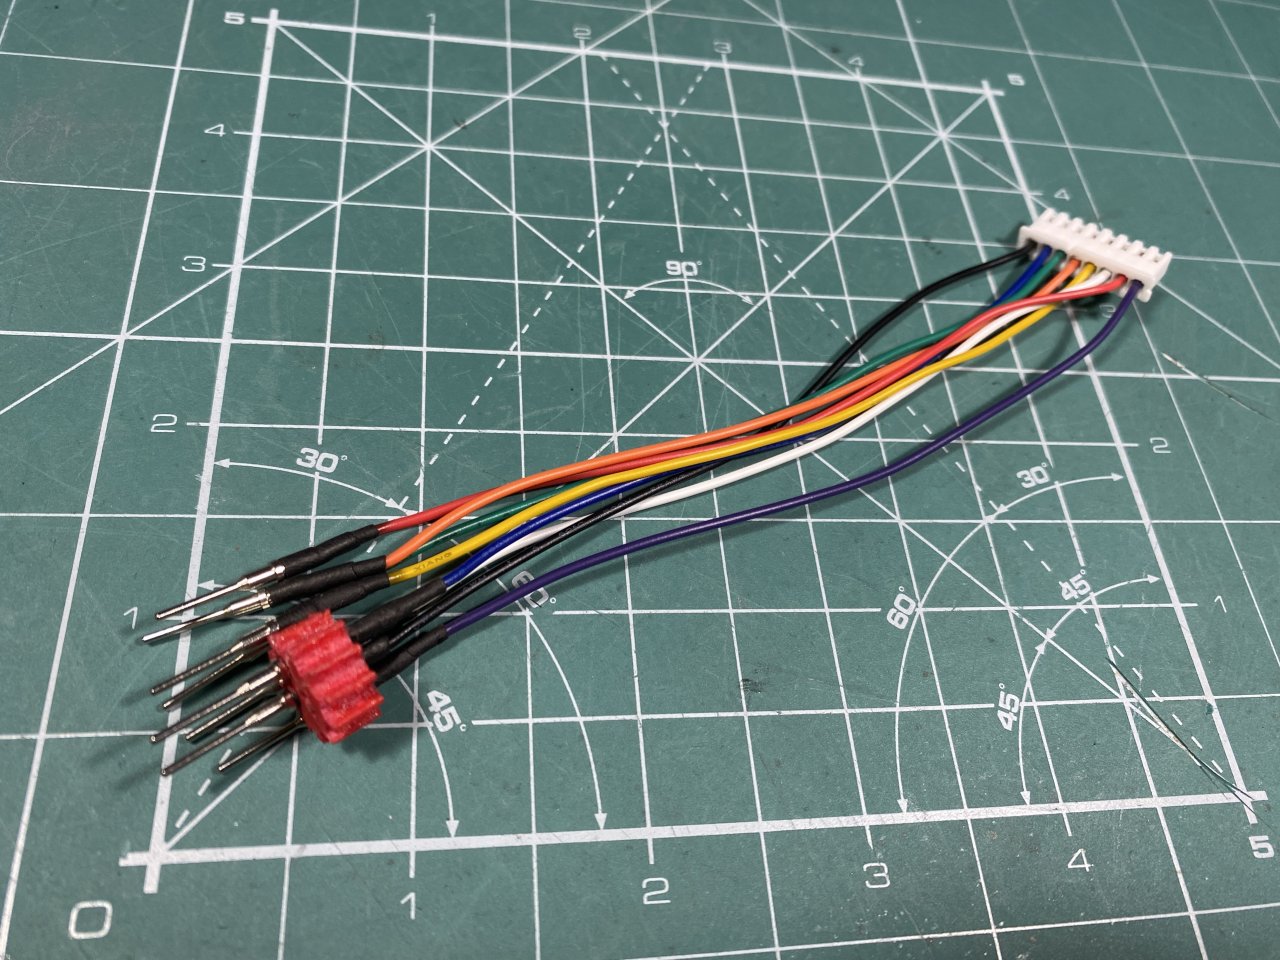
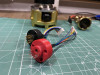
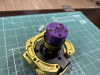
Assembly Instructions:
1. Clean pin holes if needed with 1mm drill
2.Thread first cables for Pins 4 and 5 through the locker before soldering
3. Solder the rest
4. Locker is wide enough to accept heat shrink
5. Arrange pins, lock with m2.5 hardware
6. Seal on top with hot glue to protect cables
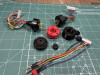
Parts Needed:
1. Deutsch connector pins: 0460-202-20141 (1mm) - https://www.aliexpress.com/item/10000413473861.html
2. M2.5x12mm screw for the pin locker
3. M2.5mm nut for the pin locker
4. M4 hardware to mount connector to hub if you do not use the original
Print Settings:
Printed with 5 walls/layers top and bottom, 0.2 layer, 0.4 nozzle, 40 infill. Rafts are needed for the Pin Holders only. Tested both in PLA and PETG - worked fine.
Comments (0)