
Pedal Rumble Motors for HE Ultimate+
17 January 2023 | Hits: 17013 | Downloads: 991 | Sim Gear | Free


-
Update 01.2024:
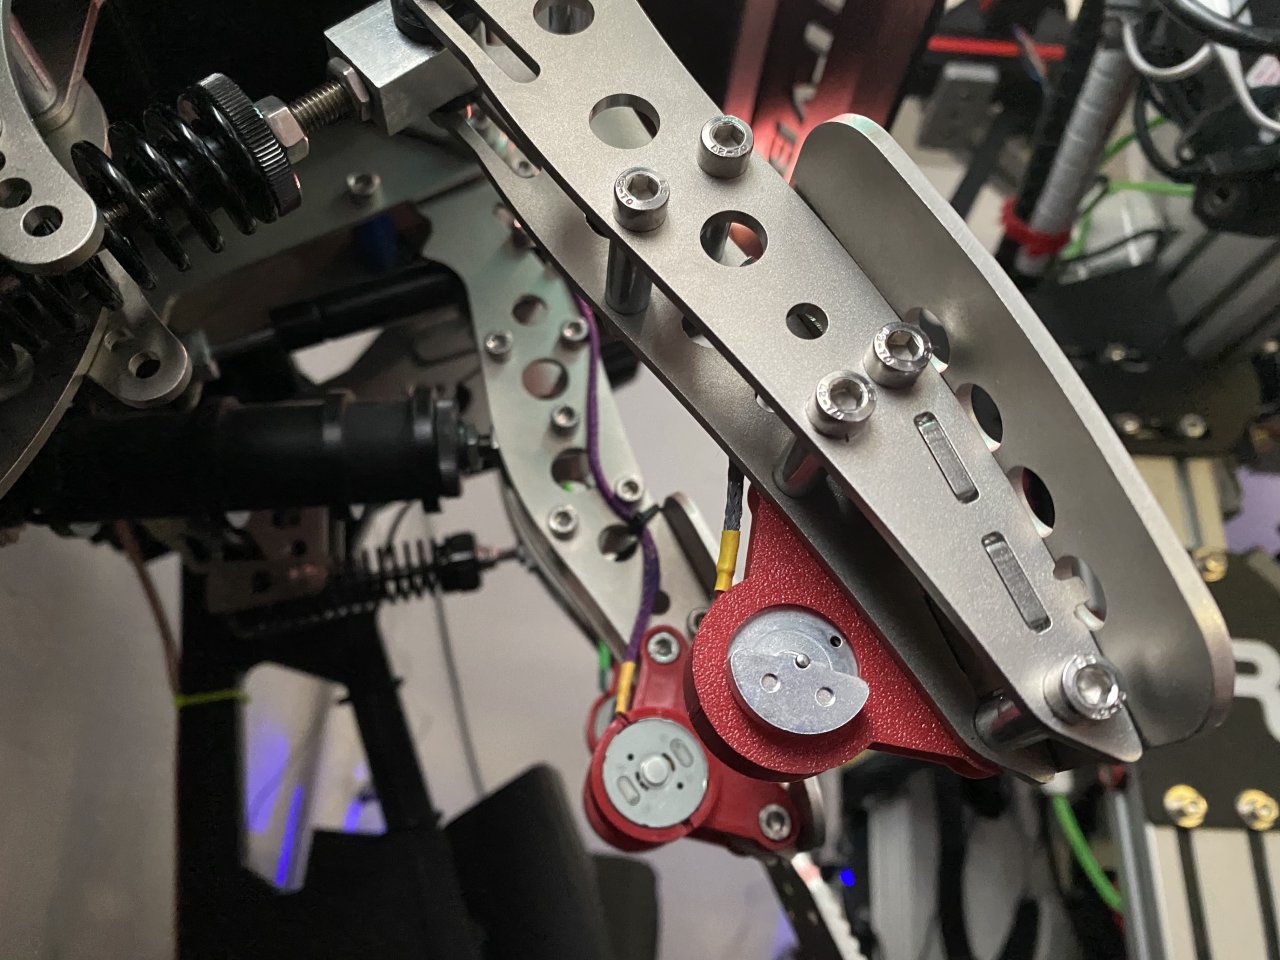
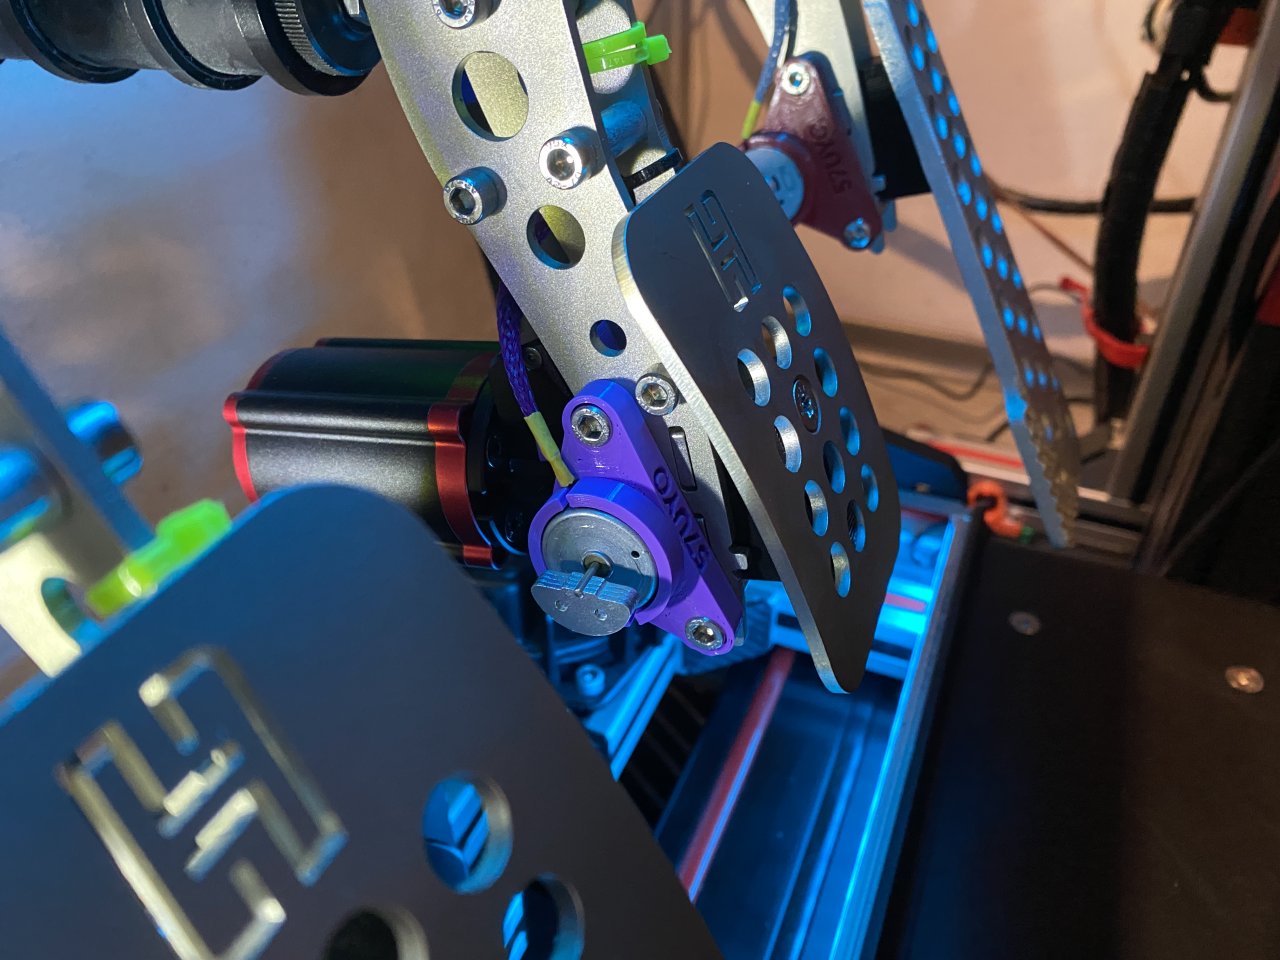
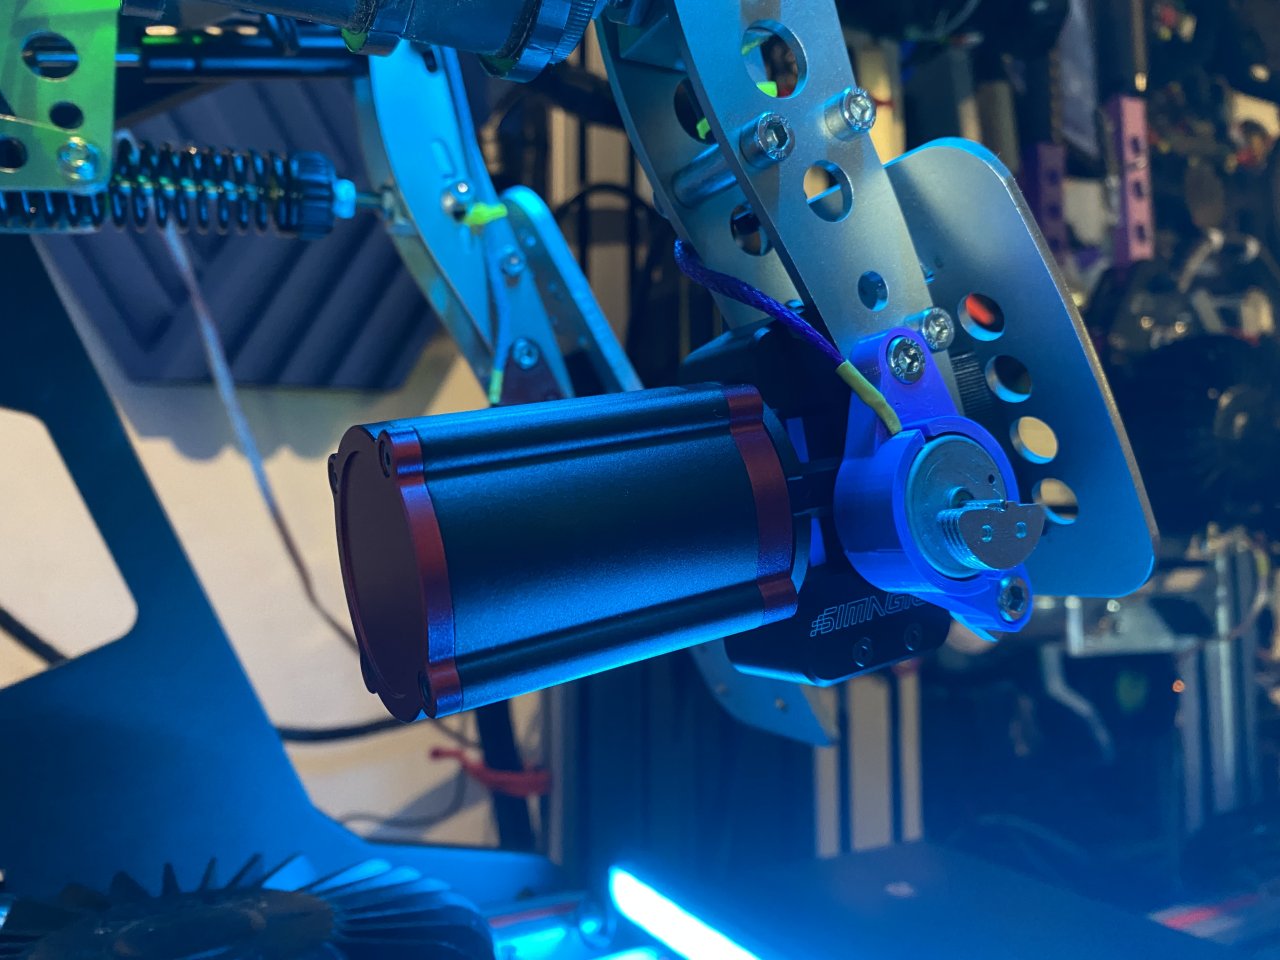
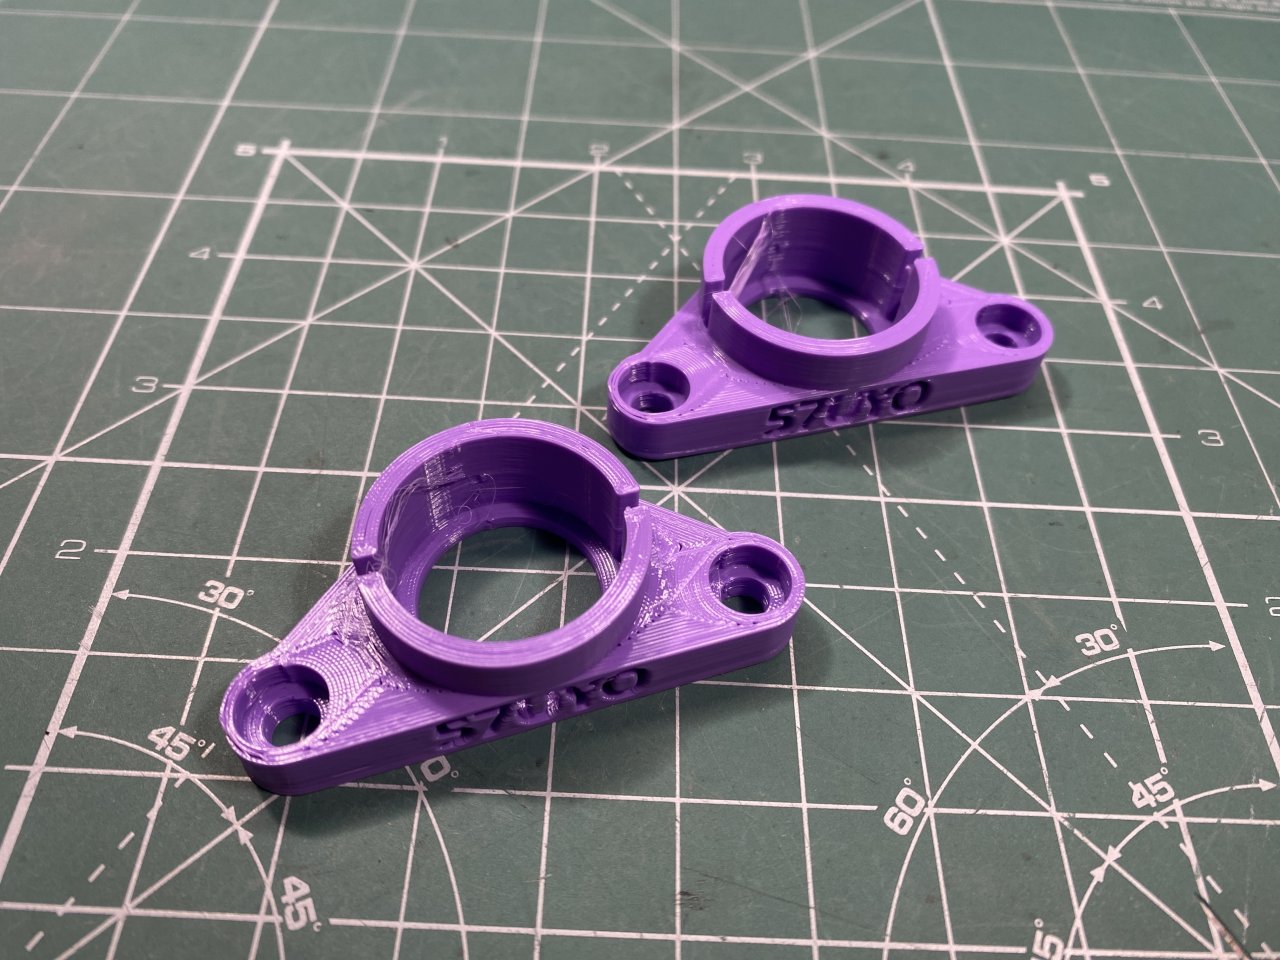
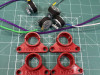
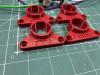
The Pedal Rumble kit was reworked to swap the rumble motor on the outside and bring it nearer to pedal plate to provide extra clearance for the Simagic Pedal Reactor. Both designs are now in the package.
Quick and easy mod, quite cheap and with great functionality - Pedal Rumble Motors! Not only they are cool but also provide additional feedback.
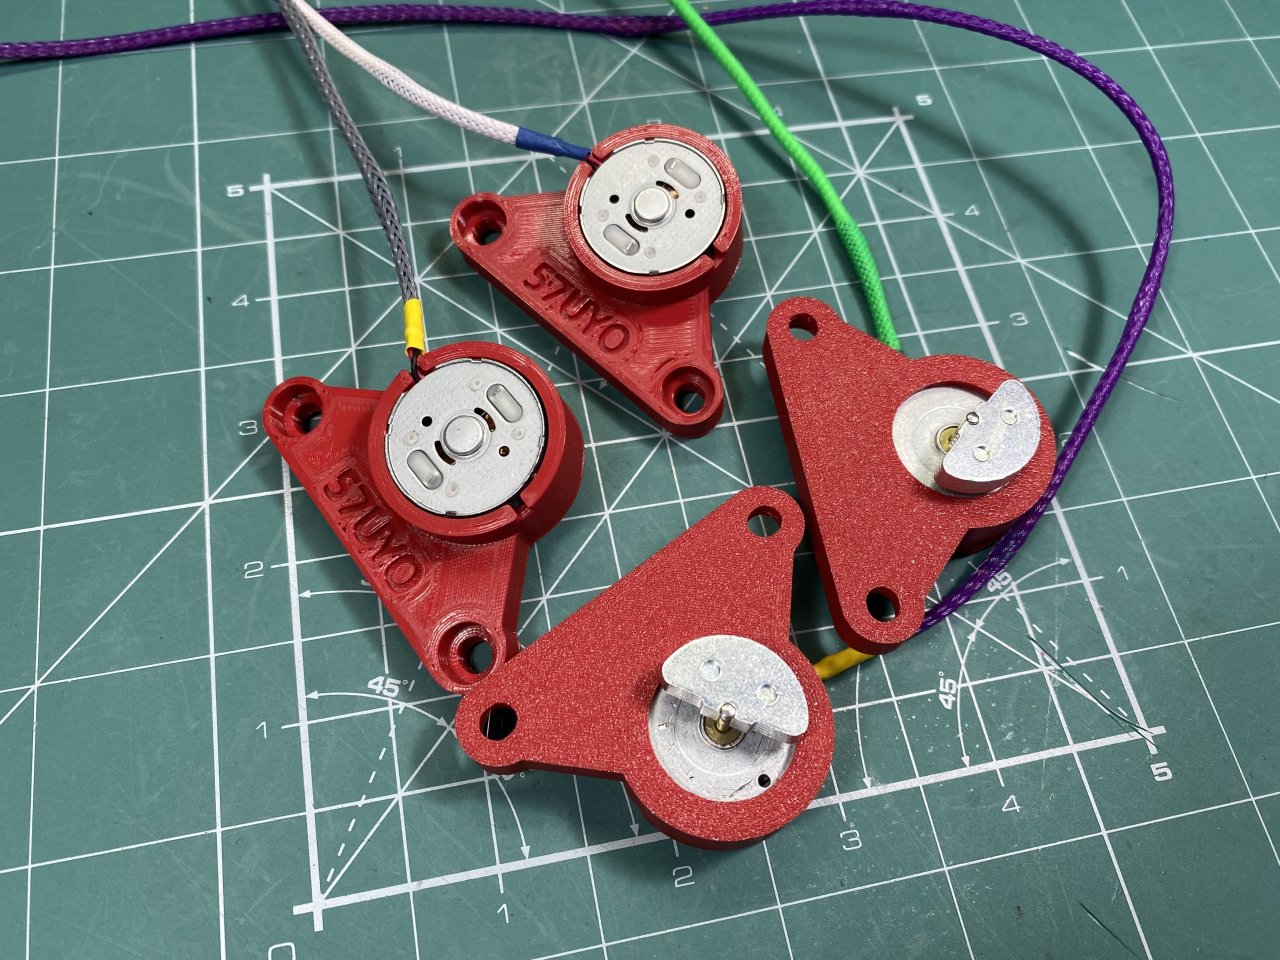
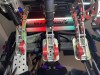
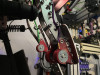
Ever since I sold my Fanatec V3s i was missing the rumble. The current implementation is powered with 12V - the rumble motors are extremely powerful - great addition, rally like them. I am using 4 motor setup - 2 on brake for separate effects, one on gas and one on clutch. Total motor count supported by single Motor Shield is 4 - more than enough.
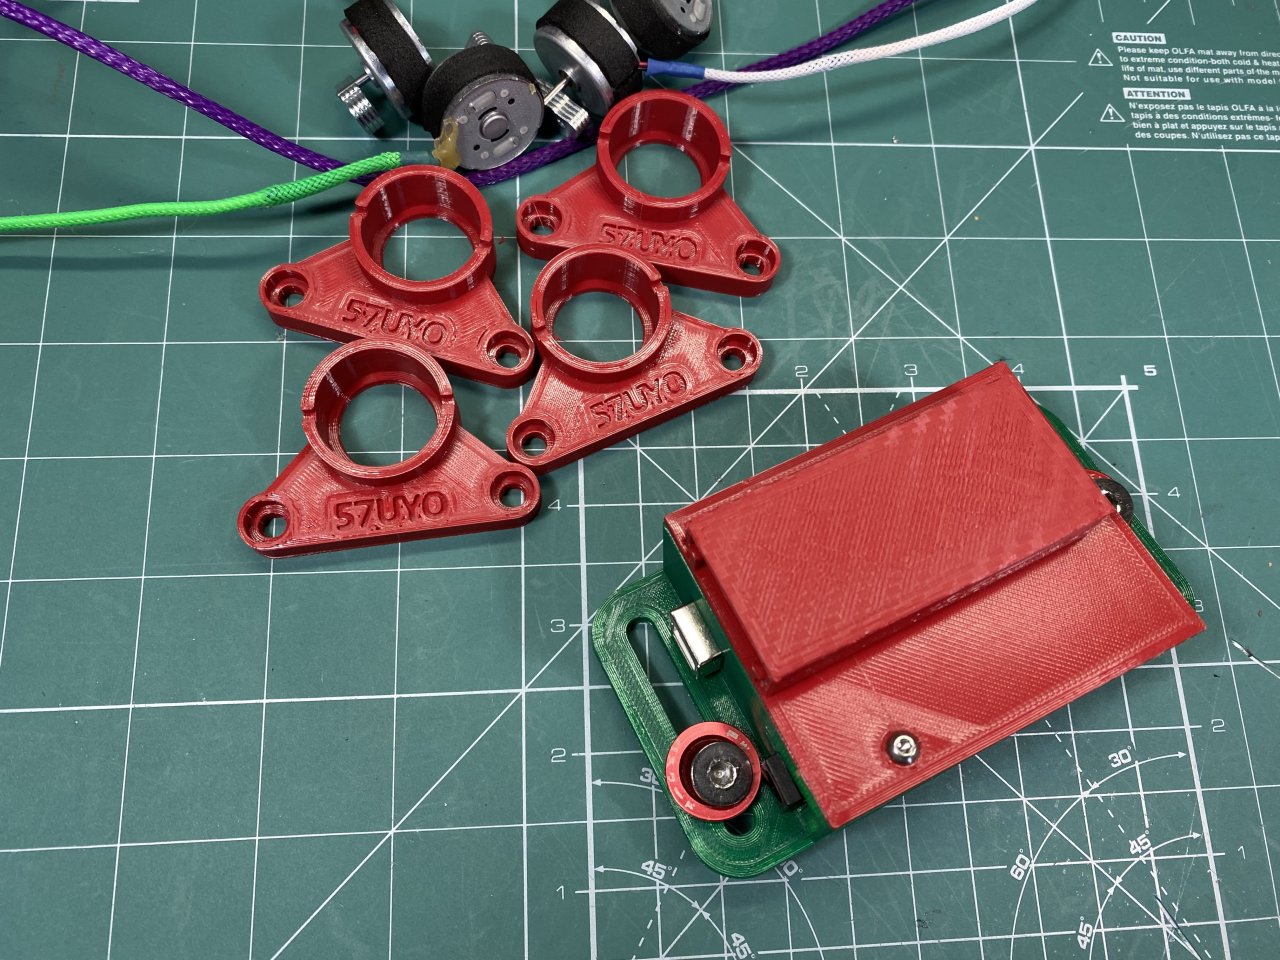
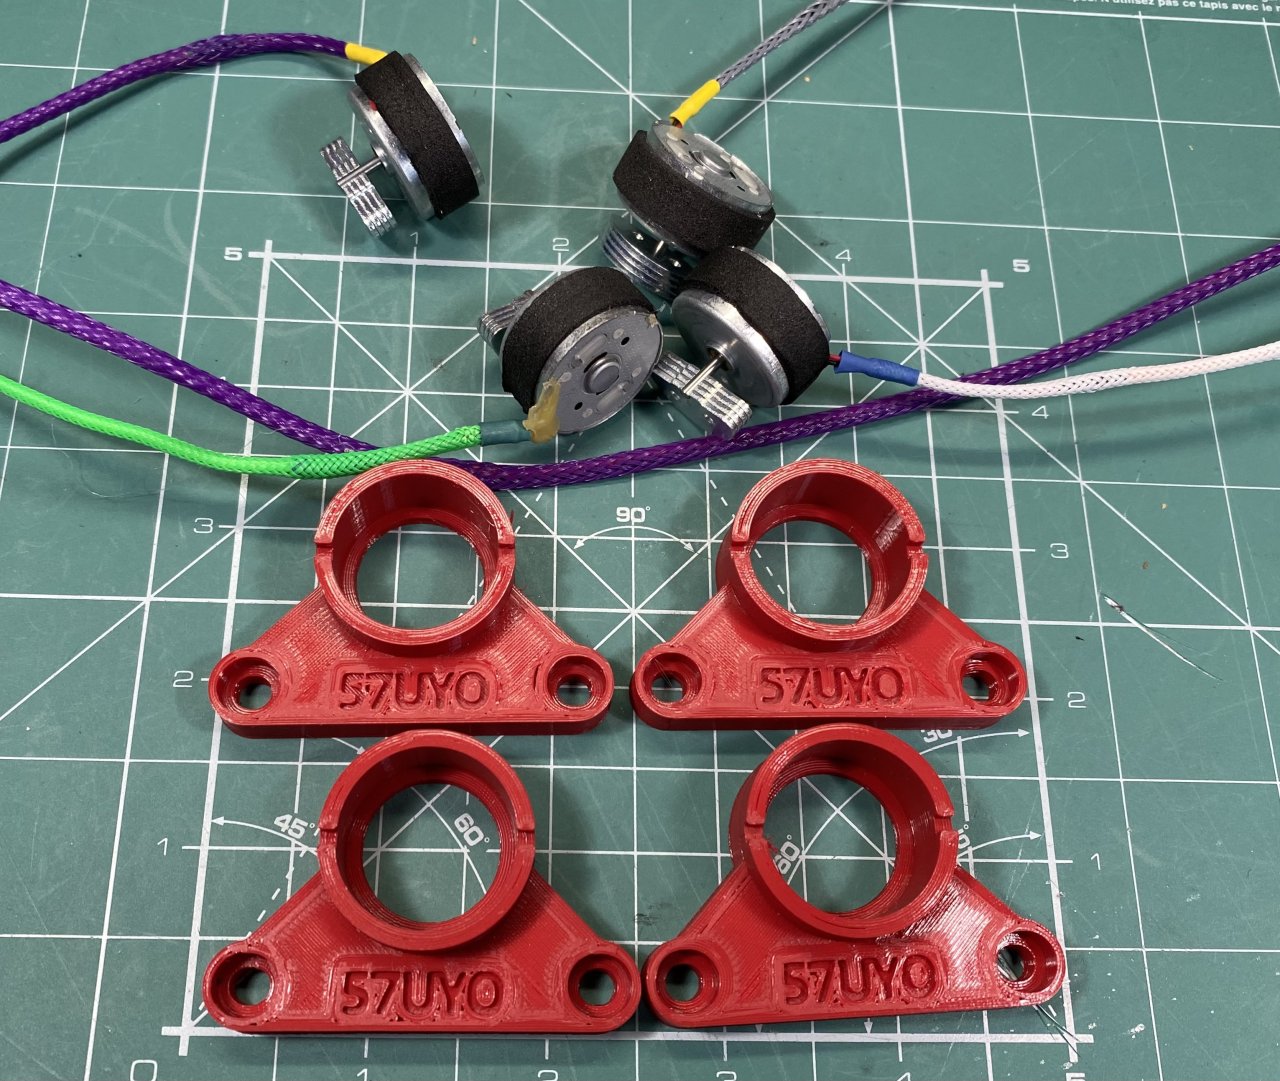
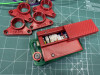
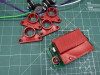
Download file includes motor mount for Heusinkveld Ultimate+ pedals, not sure if it fits Sprints. For other pedal sets there are lot of mounts on Thingiverse. Also included in files is the control box if you need it.
SimHub configuration is straightforward - create sketch, upload to Arduino, connect it in the software - will not be covered here. Effect settings can be found in the attached video and on the next tab.
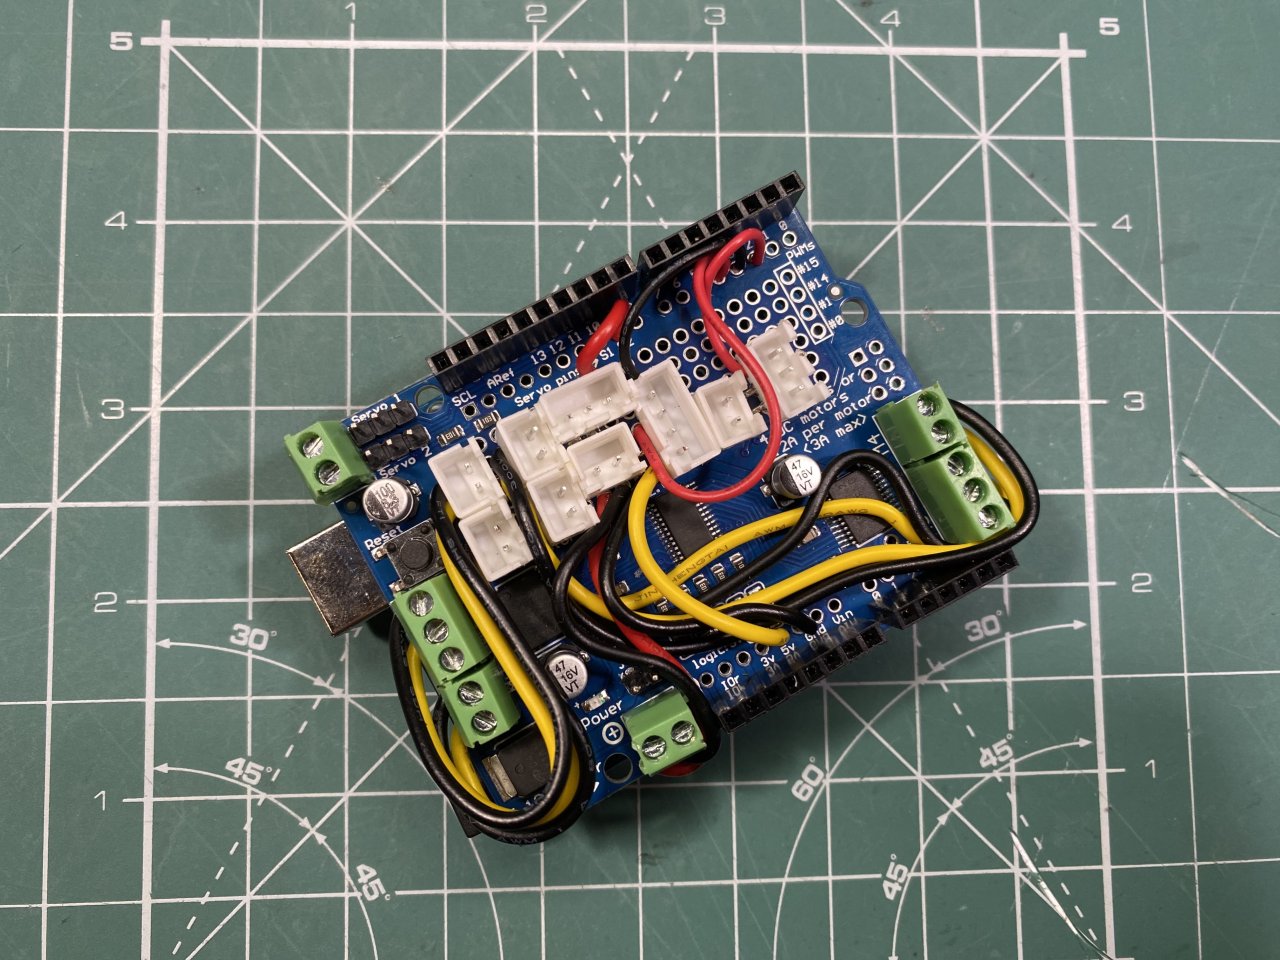
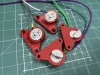
If you have good soldering skills the Motor Shield V2 has quite comfortable project breadboard - you can solder there JST connectors and utilize the res of the Arduino's pins. I also relocated the 4 motor connector for easy access.
Motor shield is directly powered form 12V, Arduino power jumper should be removed. Motors do not have very large drain, any power supply more than 1A presumably will be enough.
-
Parts needed:
1. Arduino Uno R3 - https://www.aliexpress.com/item/32831857729.html
2. Arduino Motor shield V2 - https://www.aliexpress.com/item/1005004685344152.html
3. Replacement rumble motors for XBOX controller (stick to the LEFT ones - they have bigger eccentric) - https://www.aliexpress.com/item/1005004731659632.html
4. PSU 12V
5. Wires, connectors if you prefer to make installation easier
Print settings:
Adapter - 60% infill, 5 walls, 5 layers top/bottom for additional strength
Box - based on your preference
Supports and rafts are not needed
SimHub Configuration
I. Setup motor channels
Identify motor channels - mine are 4-7 as 1-3 are for the WindSim. Assign effects to corresponding channel.
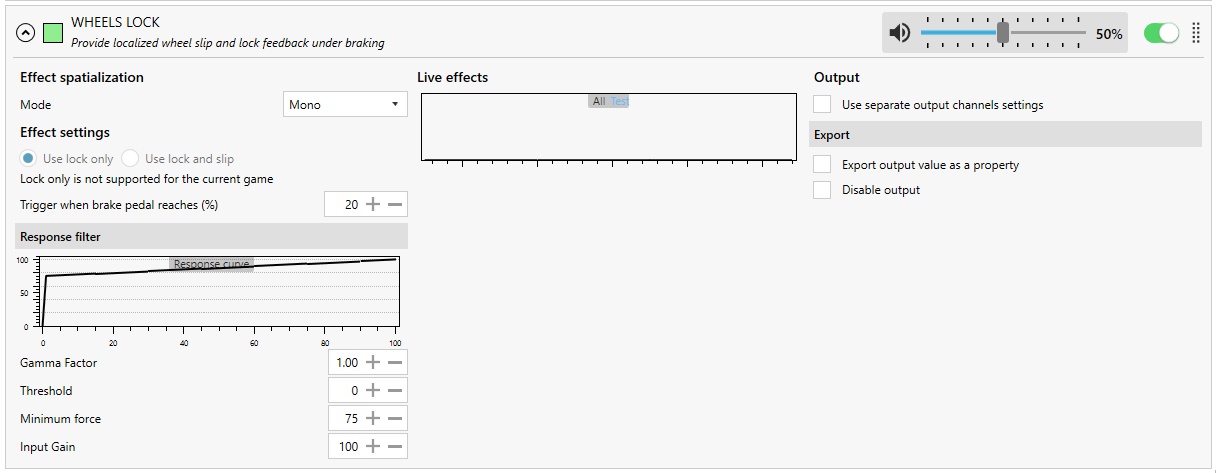
Channel 4: Brake Motor 1 - Wheel lock
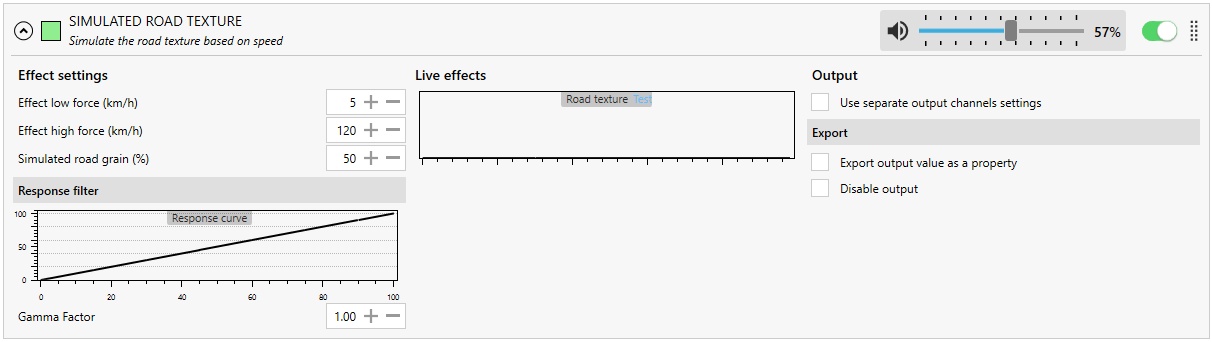
Channel 5: Brake motor 2 - Simulated road texture. Another fun effect, pretty good when you rest your foot on the brake pedal.
Channel 6: Clutch pedal - Gear shift. This effect is quite fun - when changing manual gears I really like it. As I have Aura bass shaker with Engine Sound there is no other feasible effect to put there
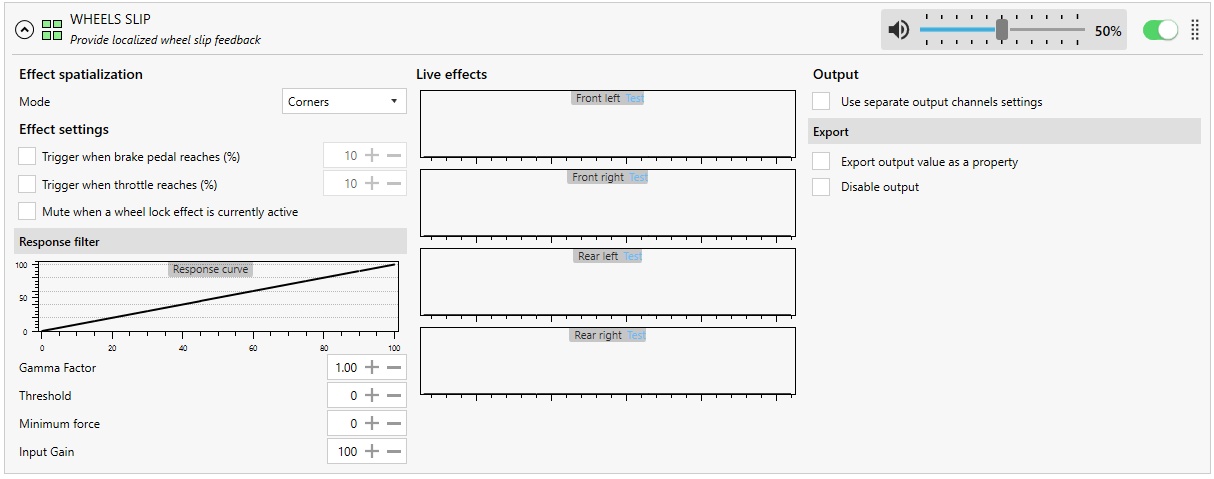
Channel 7: Gas Pedal -Real Wheel Slip \
\
II. Configure Effects
Master Volume - best to keep at 100% and tone down the volume on effect level
Gear Shift - using default configuration. Volume at 100% as it is very short effect and motor cannot even spin fully - need higher voltage to be felt properly.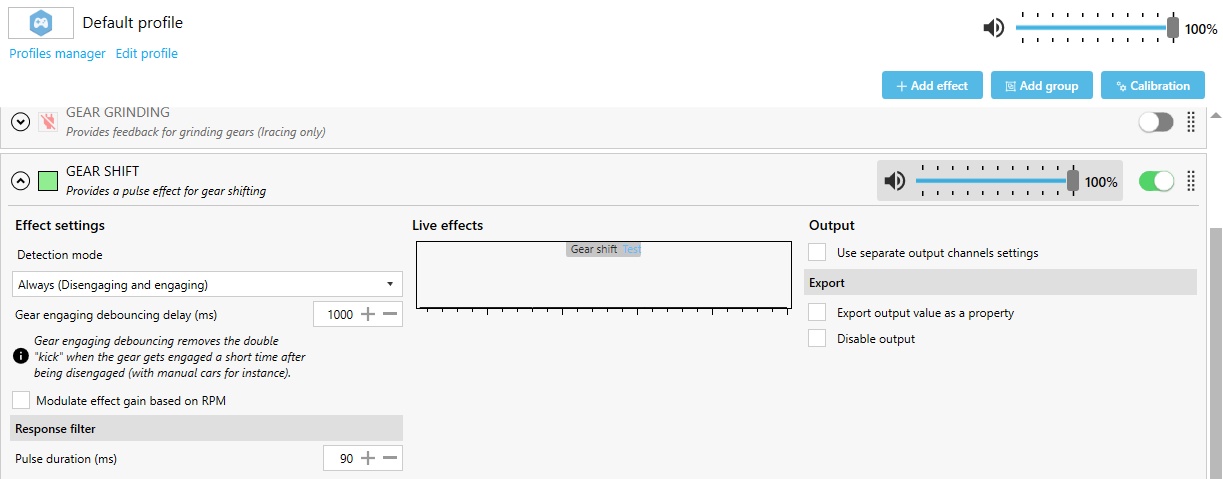
Simulated Road Texture - again default configuration, best feeling I get about 55%. Do not overdo it as it will start cancelling the wheel lock effect.
Wheel lock - set in Mono mode so all 4 wheels trigger it. Minimum force bumped up - you would want to get high volume effect the moment some of the wheels start locking. Overall volume at 50% works well for me.
Wheel slip again left at 50%, default settings. I kept all 4 channels, assigned only the back ones to pedal - only back wheelslip is interesting for me. Placing it on front wheels proved to be misleading as in rally or powerful cars it reports wheel slip almost all the time in high revs - does not provide real help.
-
Comments (5)
Leave a comment
Mark
Can you provide a link to the circuit schematic and Arduino programming code? Nice DIY project.
Stoyan Pamukchiev
Thanks, mate! Linked the Simhub Wiki up in the further details buttons. Also here it is for convenience: https://github.com/SHWotever/SimHub/wiki/Arduino-Shake-It
Stoyan Pamukchiev
Thanks! All is based on SimHub standard functionality. It requires no coding and basic wiring skills. Complete information is here: https://github.com/SHWotever/SimHub/wiki/Arduino-Shake-It
Mark
I see how it works now. Thanks for sharing.
Jimmy
Hello! Could you provide a link to the wire/connectors used in this awesome project? Thanks!